Making a Plant Marker
Note
This book is not anywhere close to complete. For more on its status, please see Status of this Book. Please enjoy this preview as it grows, and if you have feedback, send it to simonstl@simonstl.com.
Making a plant marker (or bookmark, if you prefer) with a knife is simple, but will teach you a lot about cutting and shaping wood. Cutting the rough piece out of a larger piece of wood will give you a sense of what a knife can do in the large. Whittling the shape down to be just right will teach you about how blades interact with wood grain.
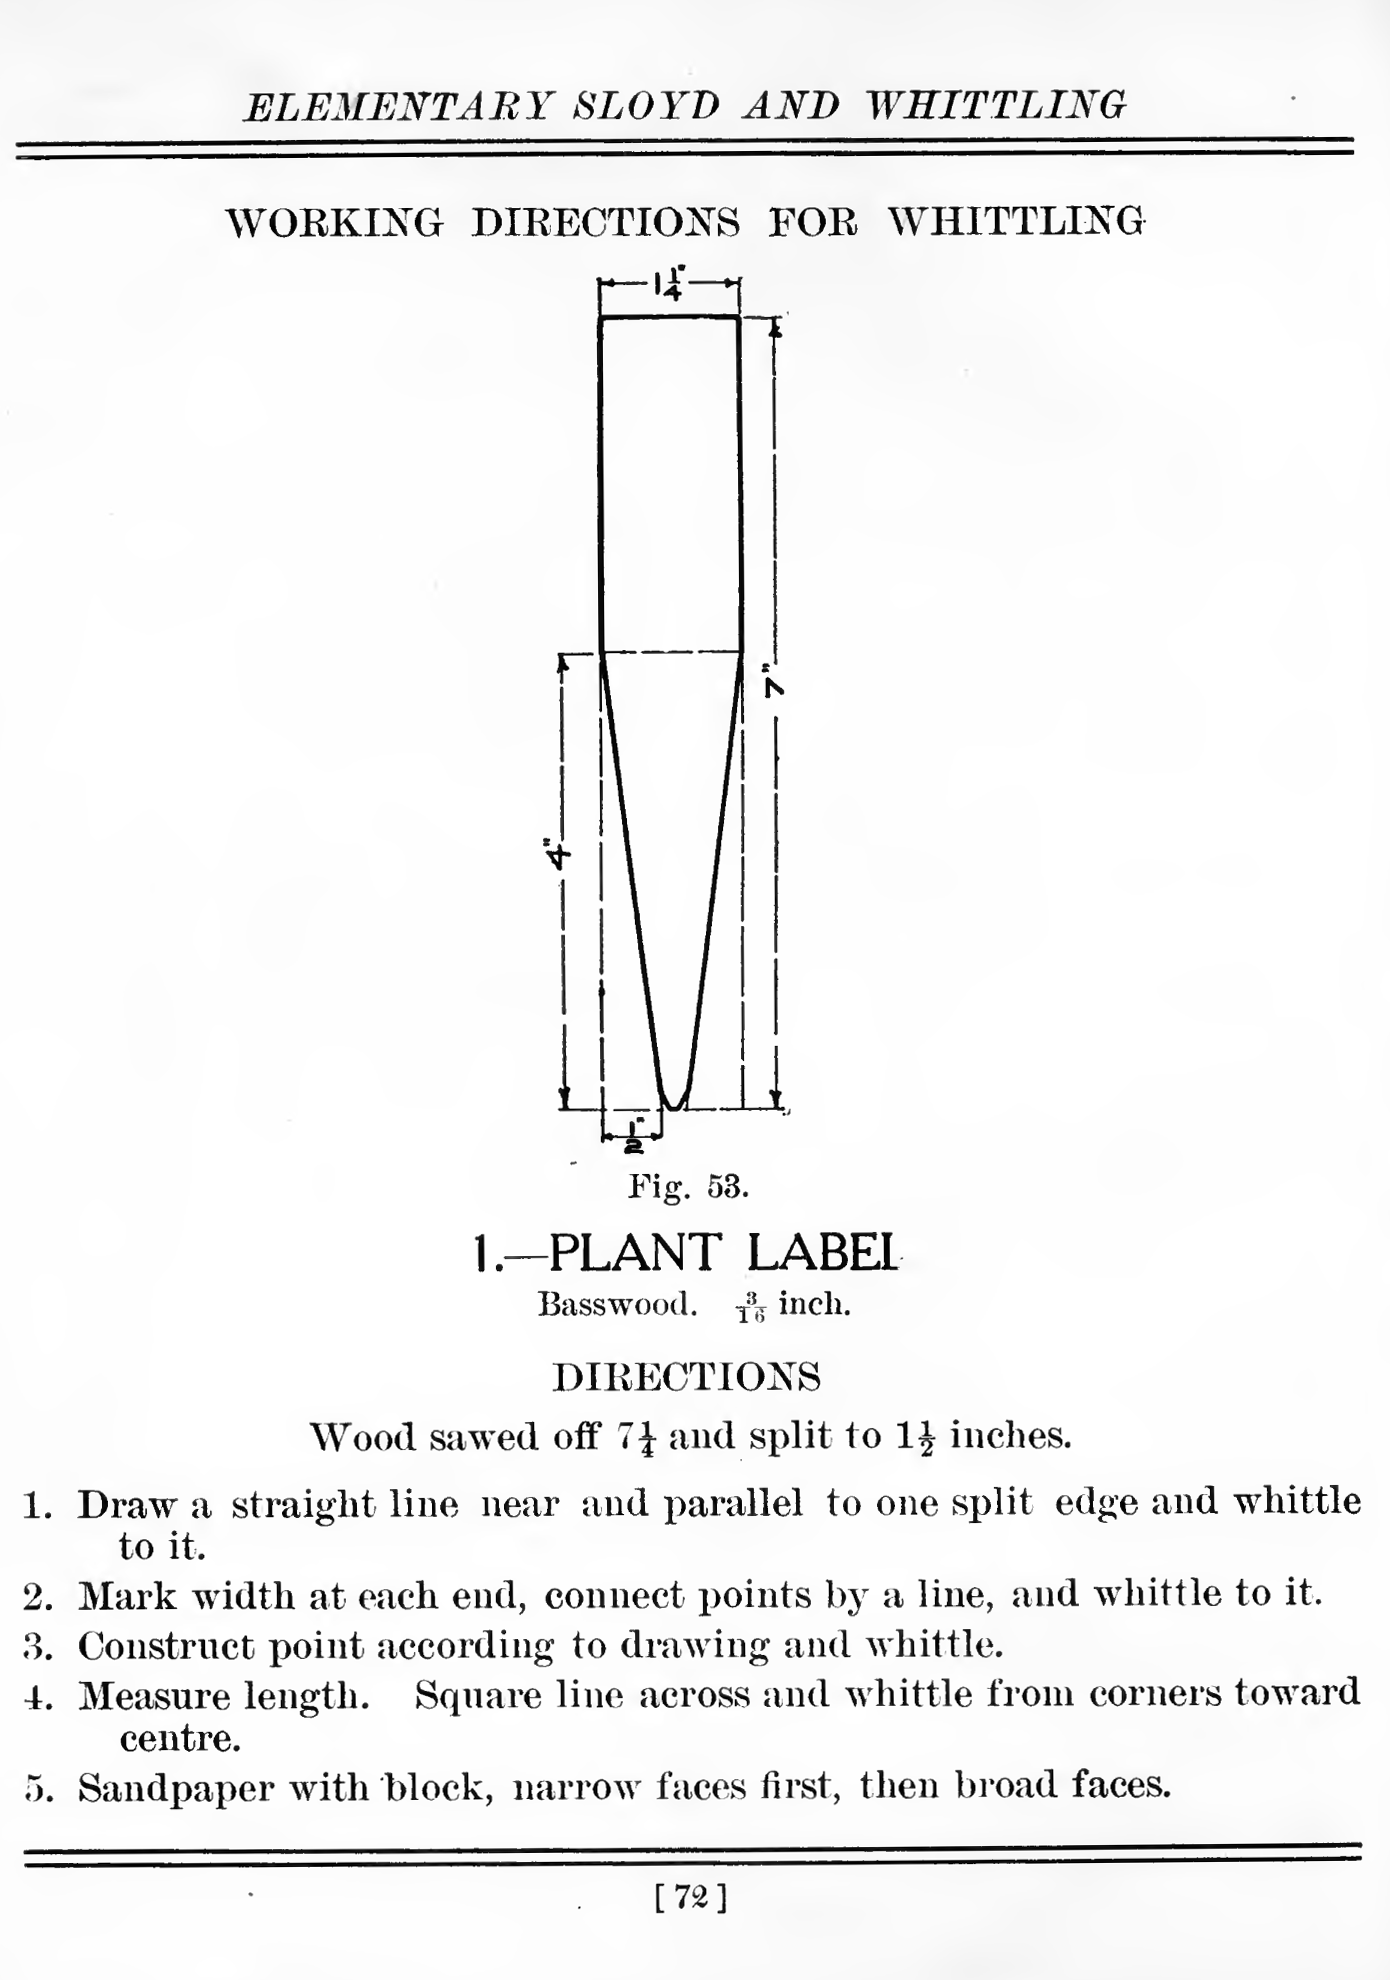
This isn’t just the first project here - it’s also the first project in the whittling section of Gustaf Larsson’s Elementary Sloyd and Whittling. Seeing Figure 4-1 and trying it out convinced me that it was possible to write this book for complete beginners.
To make this, you’ll need your knife and a bit of thin wood.
Choosing Wood
You can work with any thin stock you have around, but it’s easiest to start with a flat piece of basswood, the kind (often from Midwest Products) sold in most craft shops. Although Larsson suggests a piece that’s 3/16" thick, it’s easier to start in 1/16" stock. You can also try 3/32", 1/8" or 3/16" material. If you want to experiment, you can also find similar material in other hardwoods. Walnut has a distinctive dark brown and is easy to work with a knife.
The kind of wood you choose will have a direct effect on your carving experience
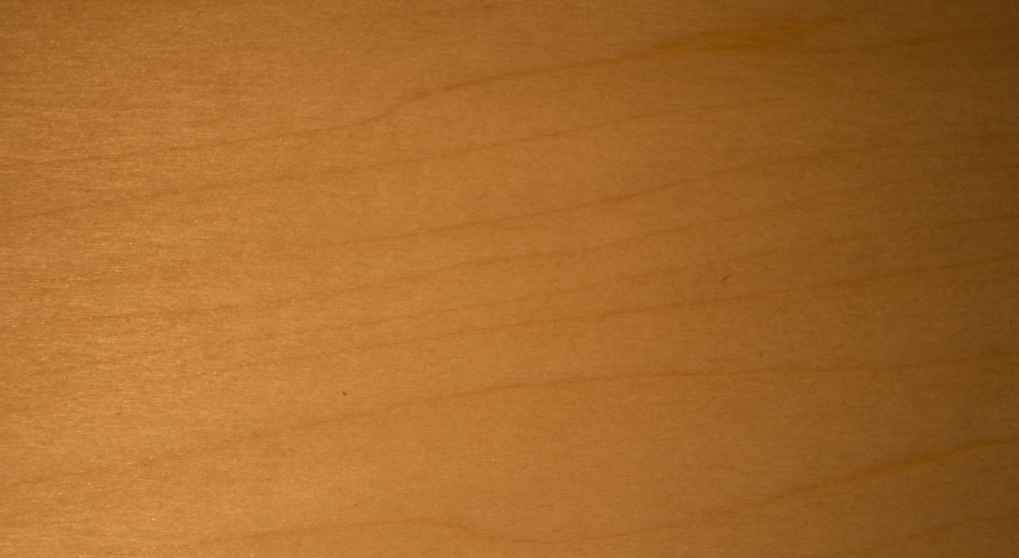
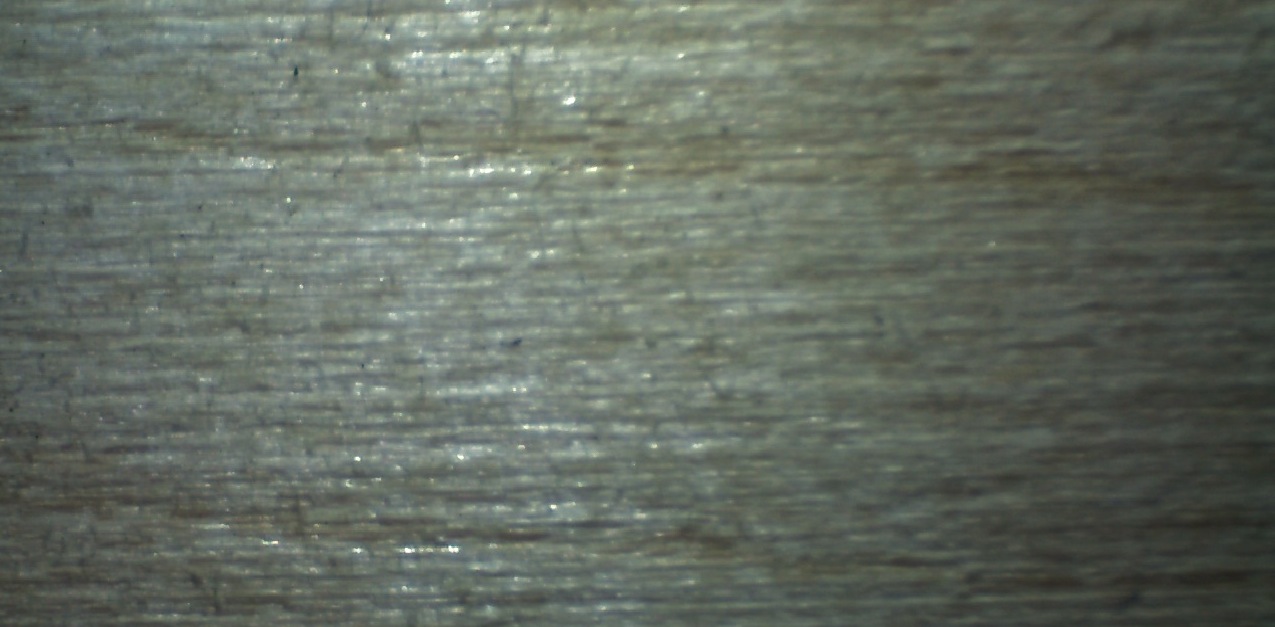
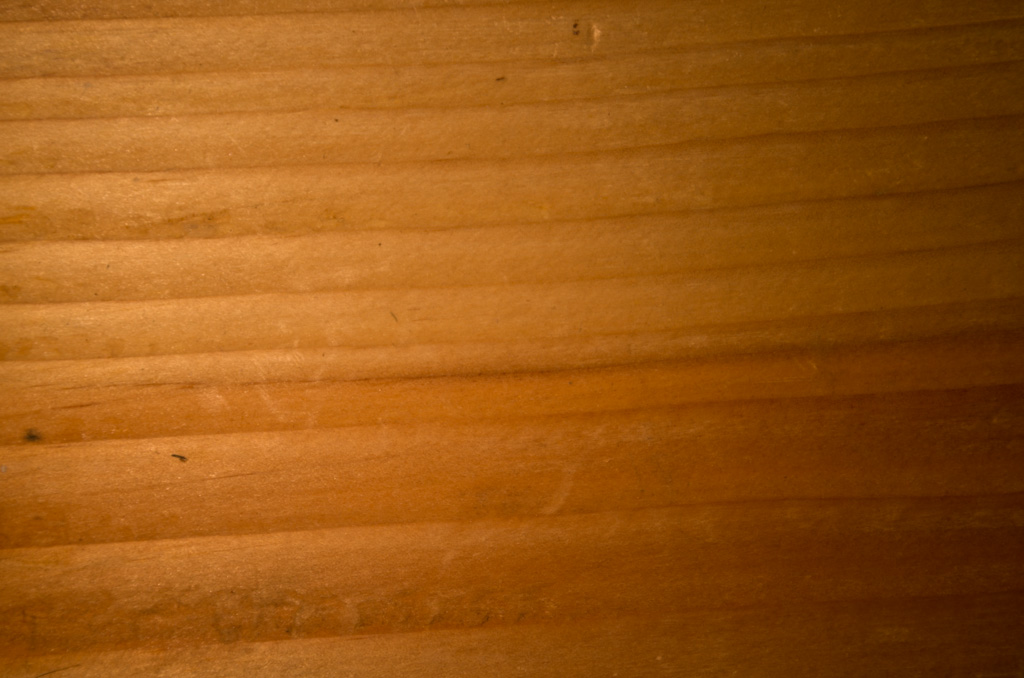
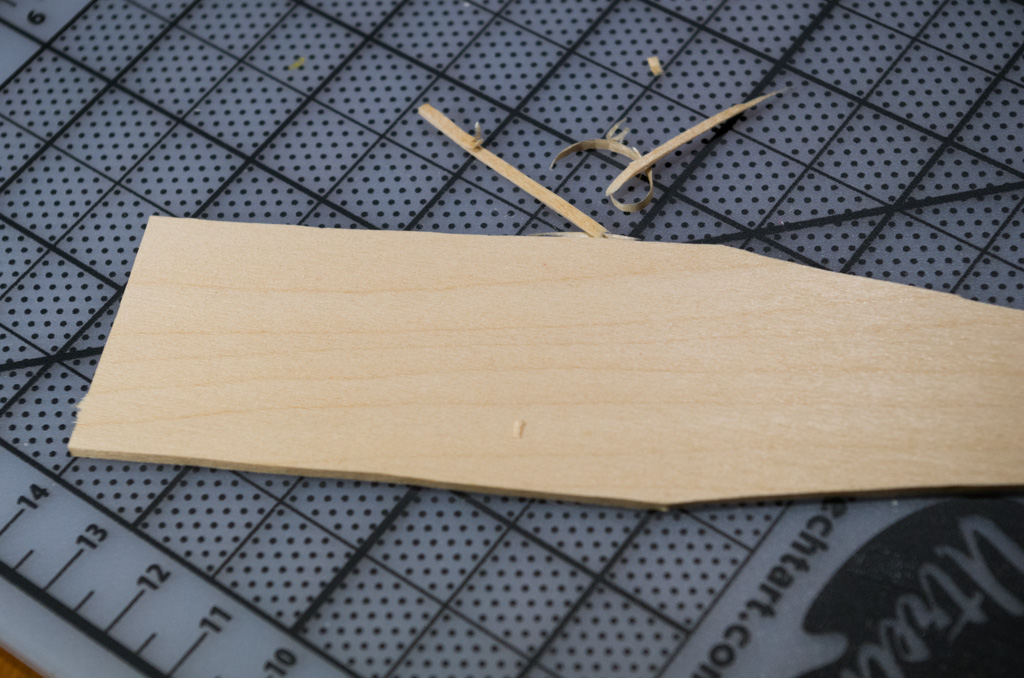
Basswood (sometimes called lime or linden) is generally the carver’s favorite. Basswood is soft enough to carve easily but hard enough to hold details. Its bland color means that the carving itself takes center stage, with little distraction from the figure of the wood. There is certainly some grain to basswood - you’ll notice the difference between carving with the grain and across the grain - but it’s much less dramatic than it is in some other woods. Figure 4-2 shows a piece of basswood, and Figure 4-3 shows a close-up of what lurks in that smooth-looking surface. For contrast, look at Figure 4-4, which shows the darker and more visible grain of walnut.

Pine is cheap and easy to find in large sizes. There are many varieties of pine, and even among the same species there can be many differences caused by how the tree grew. Some pine has pronounced grain, as you can see in Figure 4-5, and the difference between earlywood and latewood, shown in Figure 4-6, can make for a bouncy ride with the knife.

Eastern white pine is probably the easiest pine to cut if you can find it. Although pine, fir, and their cousins are called softwoods, you’ll actually want to make sure your tools are extra sharp to get a smooth surface in it.
Note
I haven’t found a good source of thin pine, so you may want to avoid it for this project unless you’re already ready to cut your own pieces. Pine veneer is probably too thin. (Maybe it would work as a bookmark, for a while?)
Cutting a Rough Piece
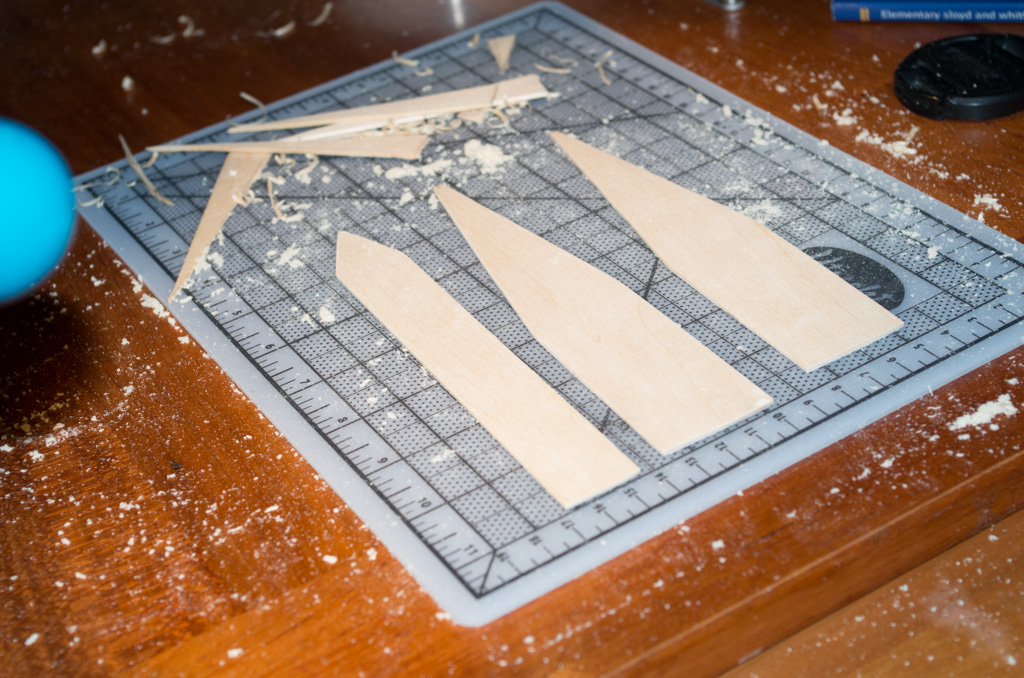
You don’t need a large surface for this project, just something you don’t mind getting cutting marks on. I used a 9x12 self-healing cutting board for it. Thick cardboard would be fine too.
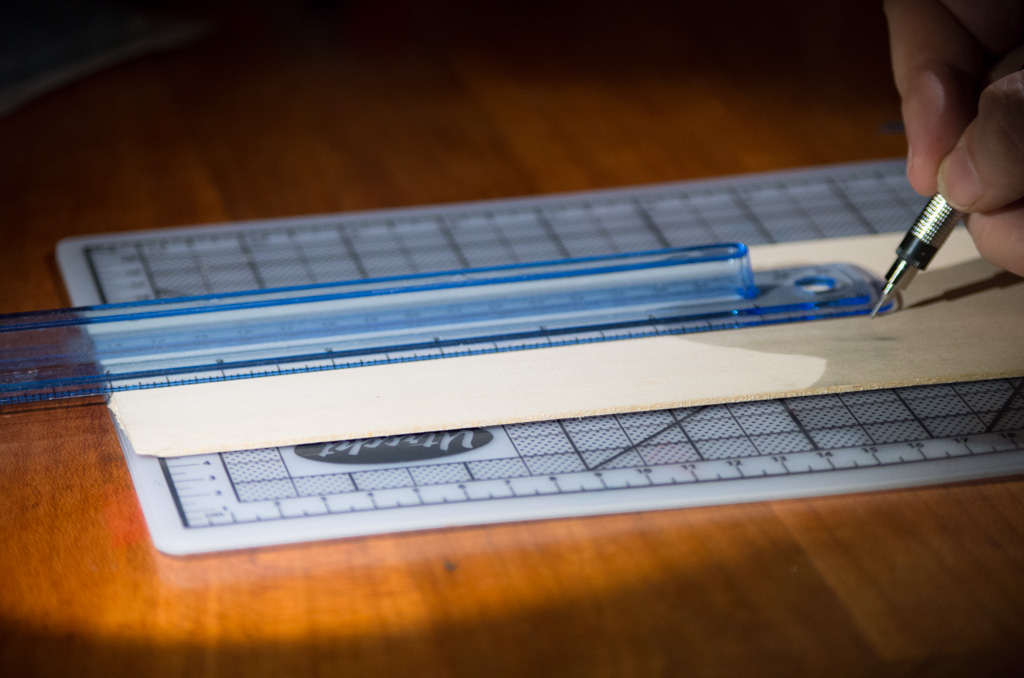
If you start with a 3- or 4-inch by 1/16-inch by 24-inch piece of basswood, you’ll need to cut off a piece that’s around seven inches long. Mark it where you want to cut it. Approximate sizes are fine, as you don’t need to create precisely identical markers for this project, but you can use a ruler if you want, as shown in Figure 4-7.
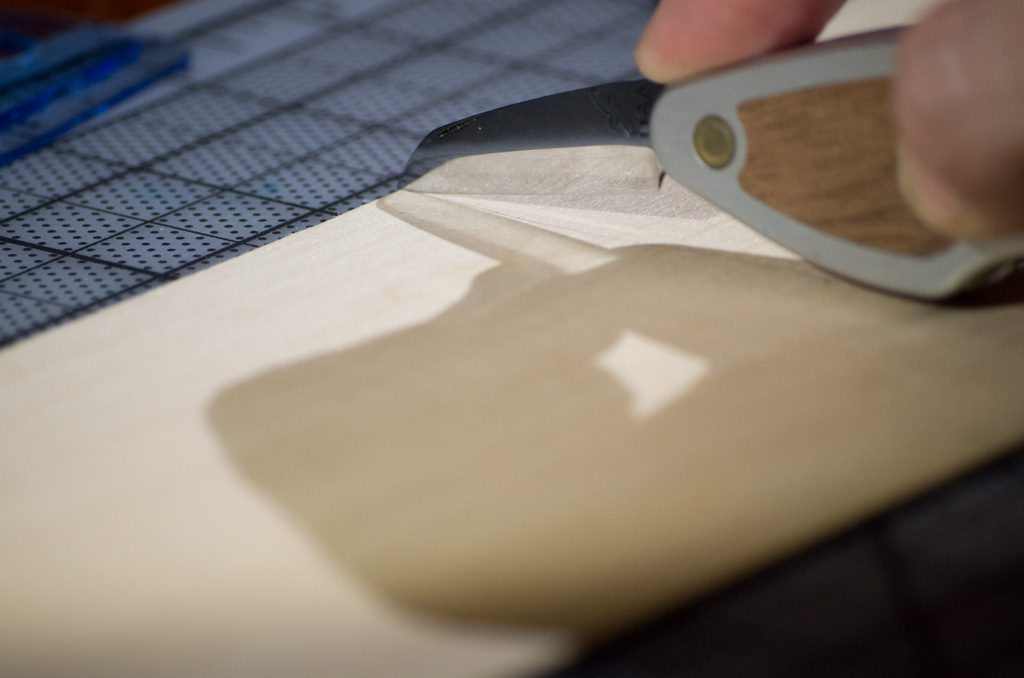
Draw a line across, and then your next task is to cut the wood. This is called a crosscut, because you’re cutting across the grain of the wood. If you think of the wood as a bundle of straws loosely attached to each other, the straws - like the grain of the wood - run the long direction. (Unless something strange, terrible, and unlikely happened at the sawmill, anyway.)
When you use a knife to cut across, as shown in Figure 4-8, your knife will have to cut through those straws. That takes a fair amount of force, but if you just push hard, your cuts will break the wood unevenly rather than cut it smoothly. The cuts will come out much better if you press gently and focus on getting the cut on the line. As you go over the cut, you’ll probably hear some crackling sounds that are fibers breaking.
Warning
Resist the urge to snap the wood once you’ve put lines in it. It will probably break along the line. However it will probably leave rougher edges than you’d like and may tear as well.
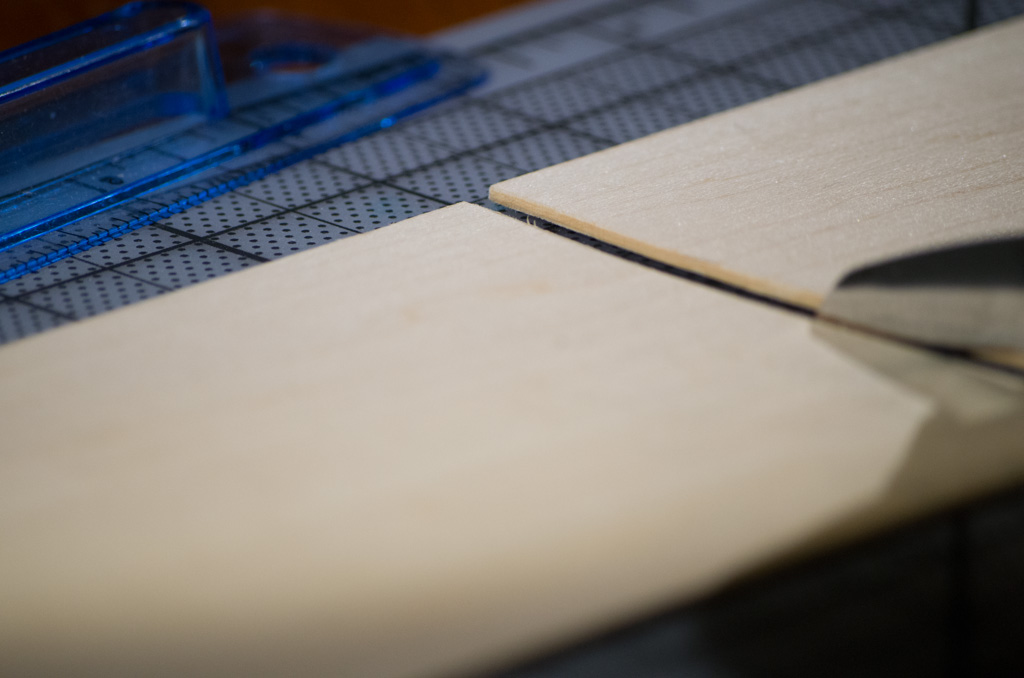
As you get closer to going through, be extra careful. Breaking through evenly will produce a much cleaner cut on the back side of the wood. When you’re done, as shown in Figure 4-9, you should have separate pieces.
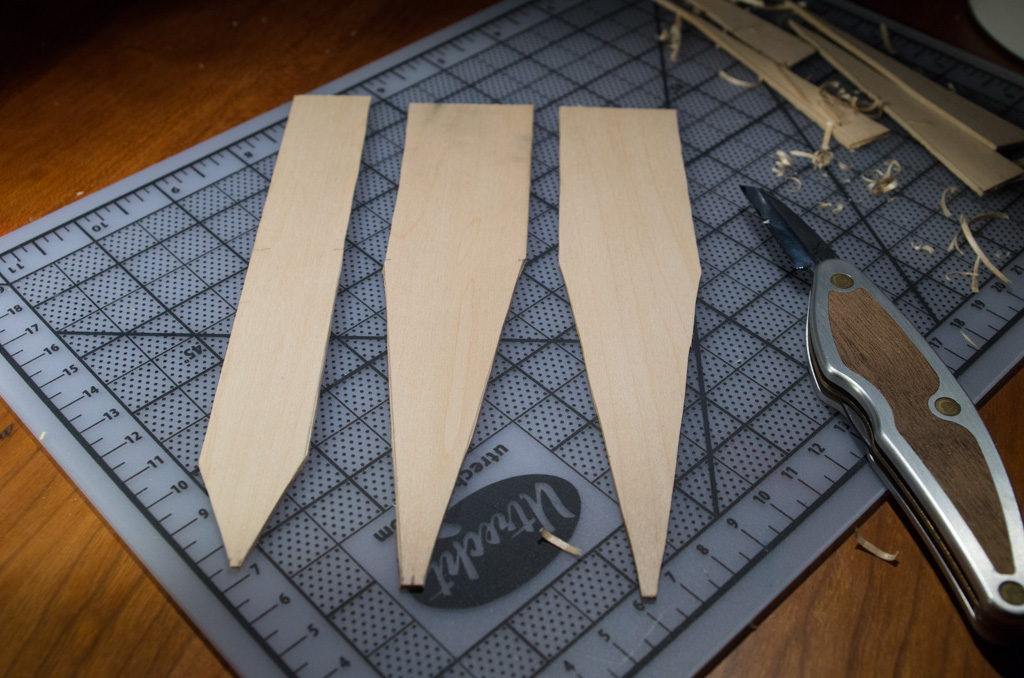
The next step, if you started with the same size piece, is to separate out some individual markers. I went for Larsson’s original measurements with two of the pieces. I used the leftover for something different, more like a pack of plant markers I bought at the garden center.
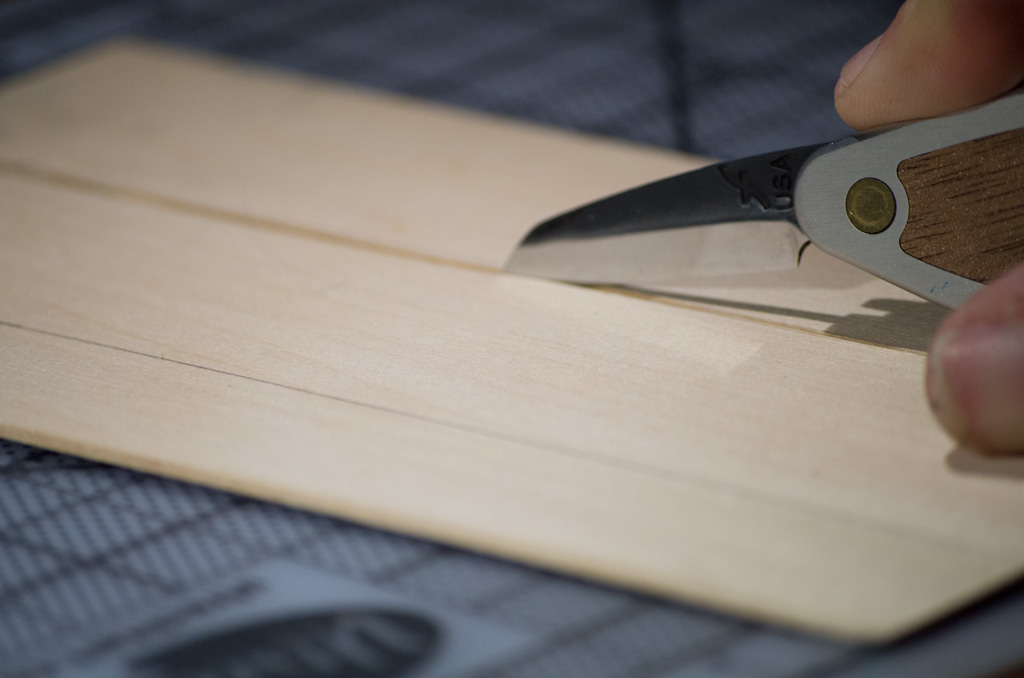
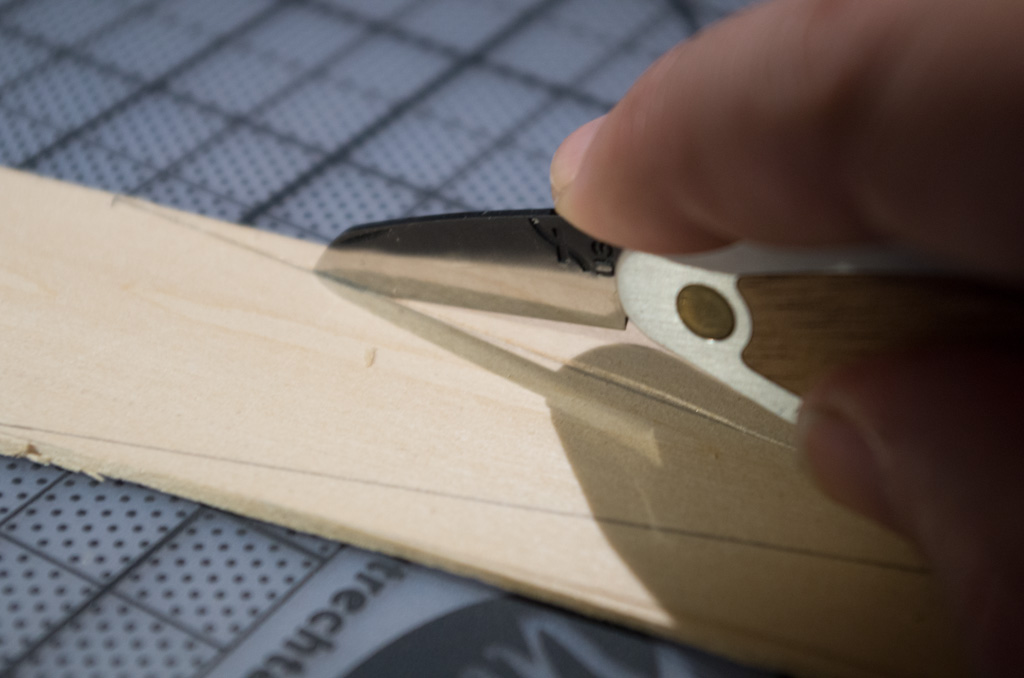
Making those markers requires separating the pieces, which now means cutting with the grain. Instead of cutting across the bundle of straws, you’ll be cutting between them. They come apart much more easily. Your cut will probably take half the time, but you’ll need to be even more careful to push gently. It’s easier to break the wood, but it’s also easy for your knife to get caught in the grain and cut in a direction that isn’t the one you wanted. Try it, as shown in Figure 4-10.
The plant markers also have diagonal parts at their base. As you might guess, this is partly like cutting with the grain and partly like cutting against it. Figure 4-11 shows a diagonal cut.
Once you have the pieces separated and in their approximate shape, you can neaten them up a bit.
Shaping the Marker
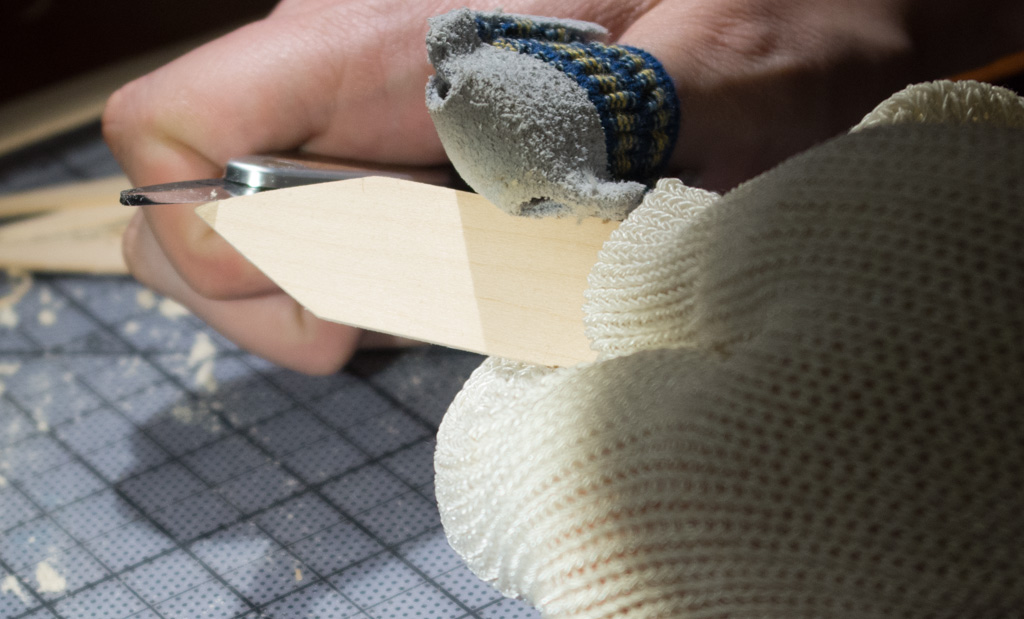
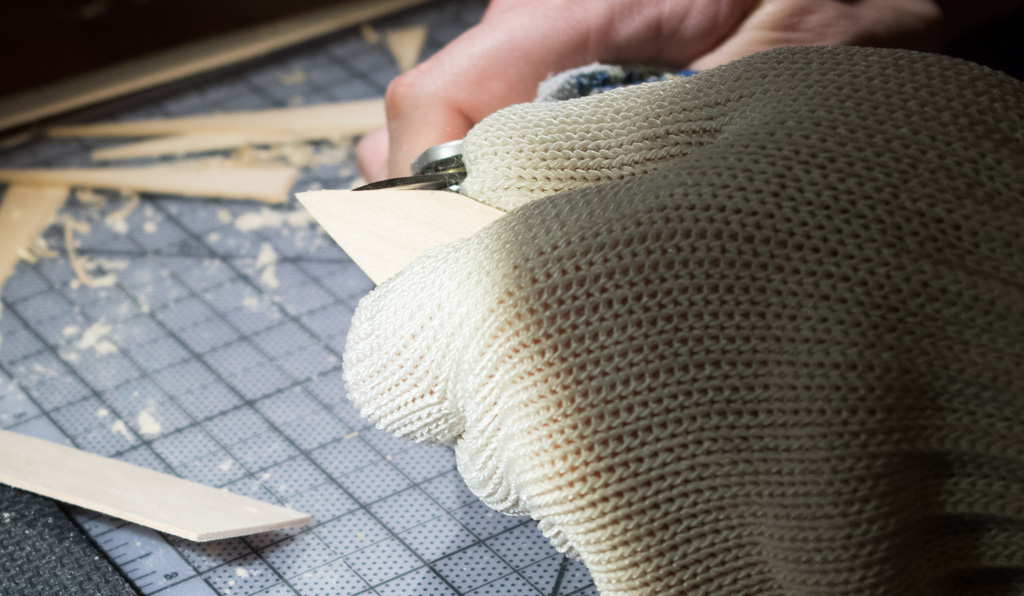
The first cuts were done with the wood flat and the knife pushing down into it. You can make more precise cuts along the edges of the wood using the push and paring cuts you saw in The Knife. Figure 4-12 shows what a paring cut on the edge of the thin marker looks like, and Figure 4-13 shows a push cut.
Perhaps the most important thing you’ll learn from this project is what happens when your knife has an unfortunate encounter with the grain. While trimming an edge, my knife started pushing up the wood and splitting it instead of cutting it. The (mildly) screwed-up result is shown in Figure 4-14.
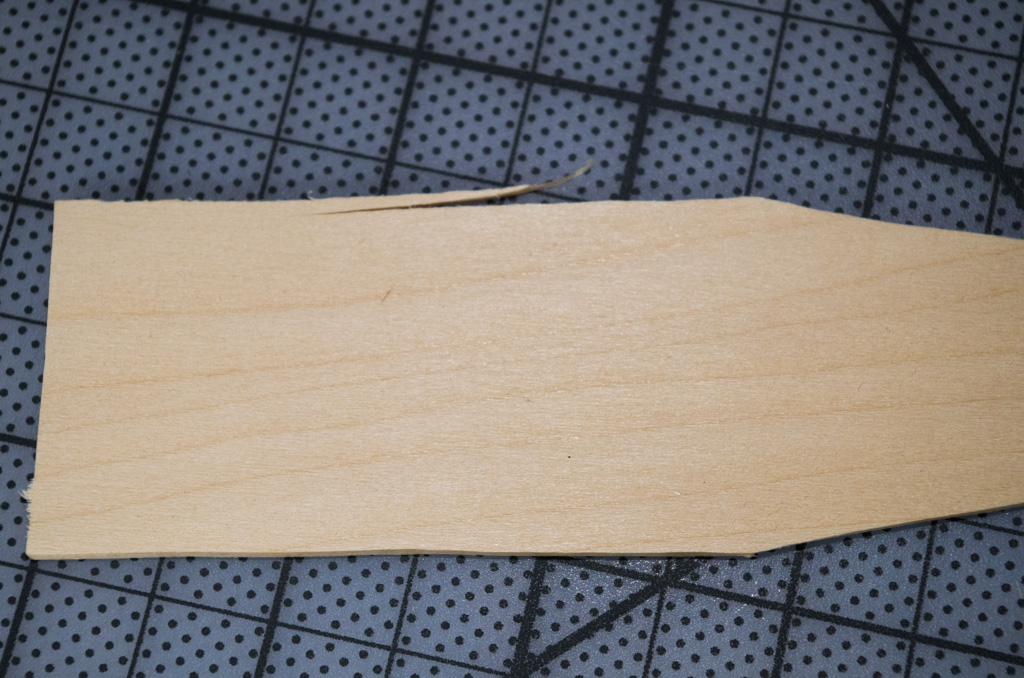
See how the split (mostly) follows the visible grain lines on the wood? The knife popped the grain apart while you were trying to cut across the grain. Cross-grain cuts are generally easier to control precisely.
Note
If you get into working with green wood, using axes and froes to split wood, then wood’s tendency to break this way becomes helpful.
Because this is just a plant marker, and the dimensions don’t have to be perfect, it’s easy to fix - just make additional cuts from the opposite direction. <Marker11>> shows what this will produce. Those cuts won’t split and tear the wood. It’s very easy to see what’s happening when you’re splitting a thin piece of wood, but remember this later when you get into using hand planes. They can pull up wood and start splitting it almost the same way.
At this point, you should have cleaned-up plant markers with smooth and straight edges, like those shown in Figure 4-16.
Final Steps
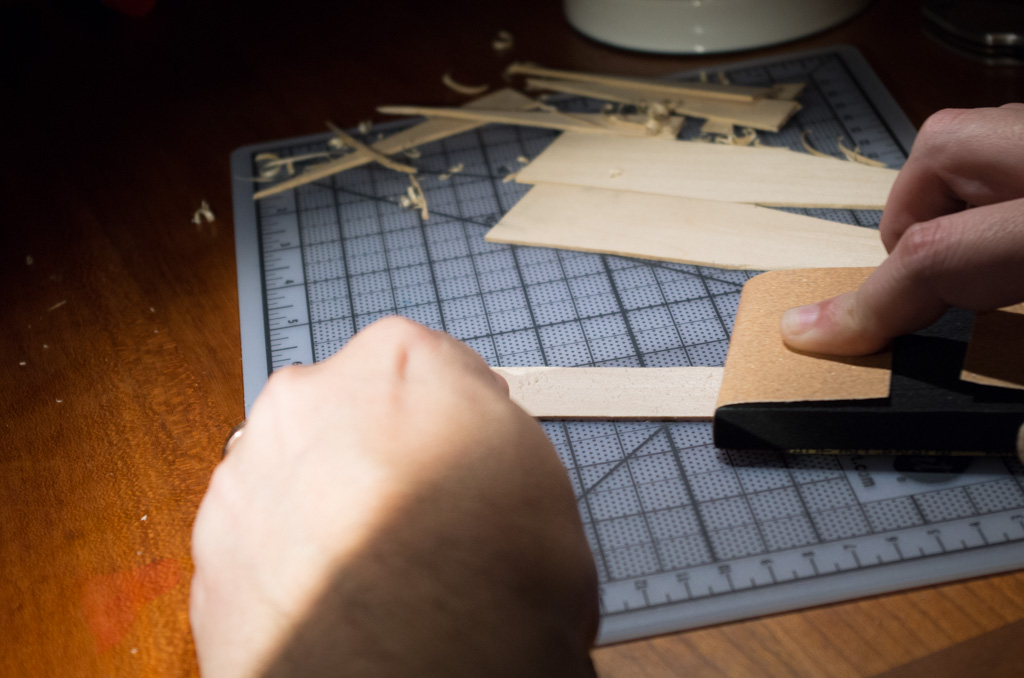
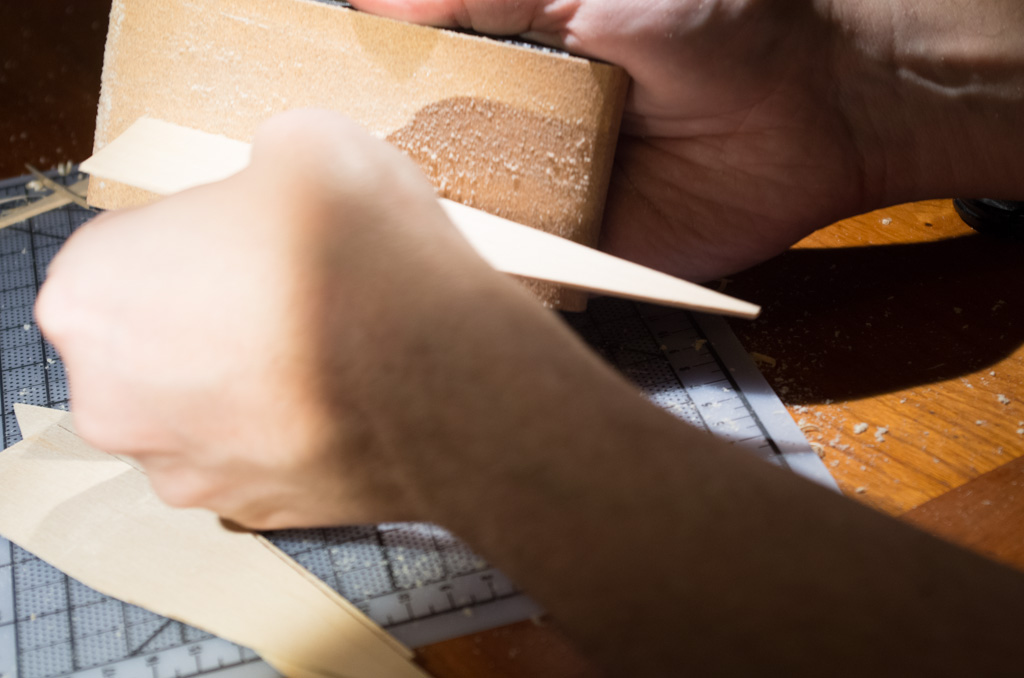
The last steps are just cleanup with sandpaper. Use 100, 150, and 220 grit sandpaper to clean up both sides of each plant marker, as shown in Figure 4-17. For the edges of the marker, it’s easier to bring the marker to the sanding block, as shown in Figure 4-18. You can sand all of the faces and backs first and then do the edges, or you can do the faces and the edges for each grit. It doesn’t really matter, and may depend on how much time you have. (Or on how many sanding blocks you have.)
When you’re done sanding, congratulations! You now have a plant marker or several, as shown in Figure 4-19. You can try variations on the same basic theme. Focus on the challenges of working with a material with grain, and see what happens if you cut the wood in different ways.
Adventures
Although the plant marker gave you the opportunity to explore how cutting edges and wood grain interact, they were pretty simple explorations. Larsson’s list of whittling projects also included some with curves that make it trickier, like the thread winder in Figure 4-20.
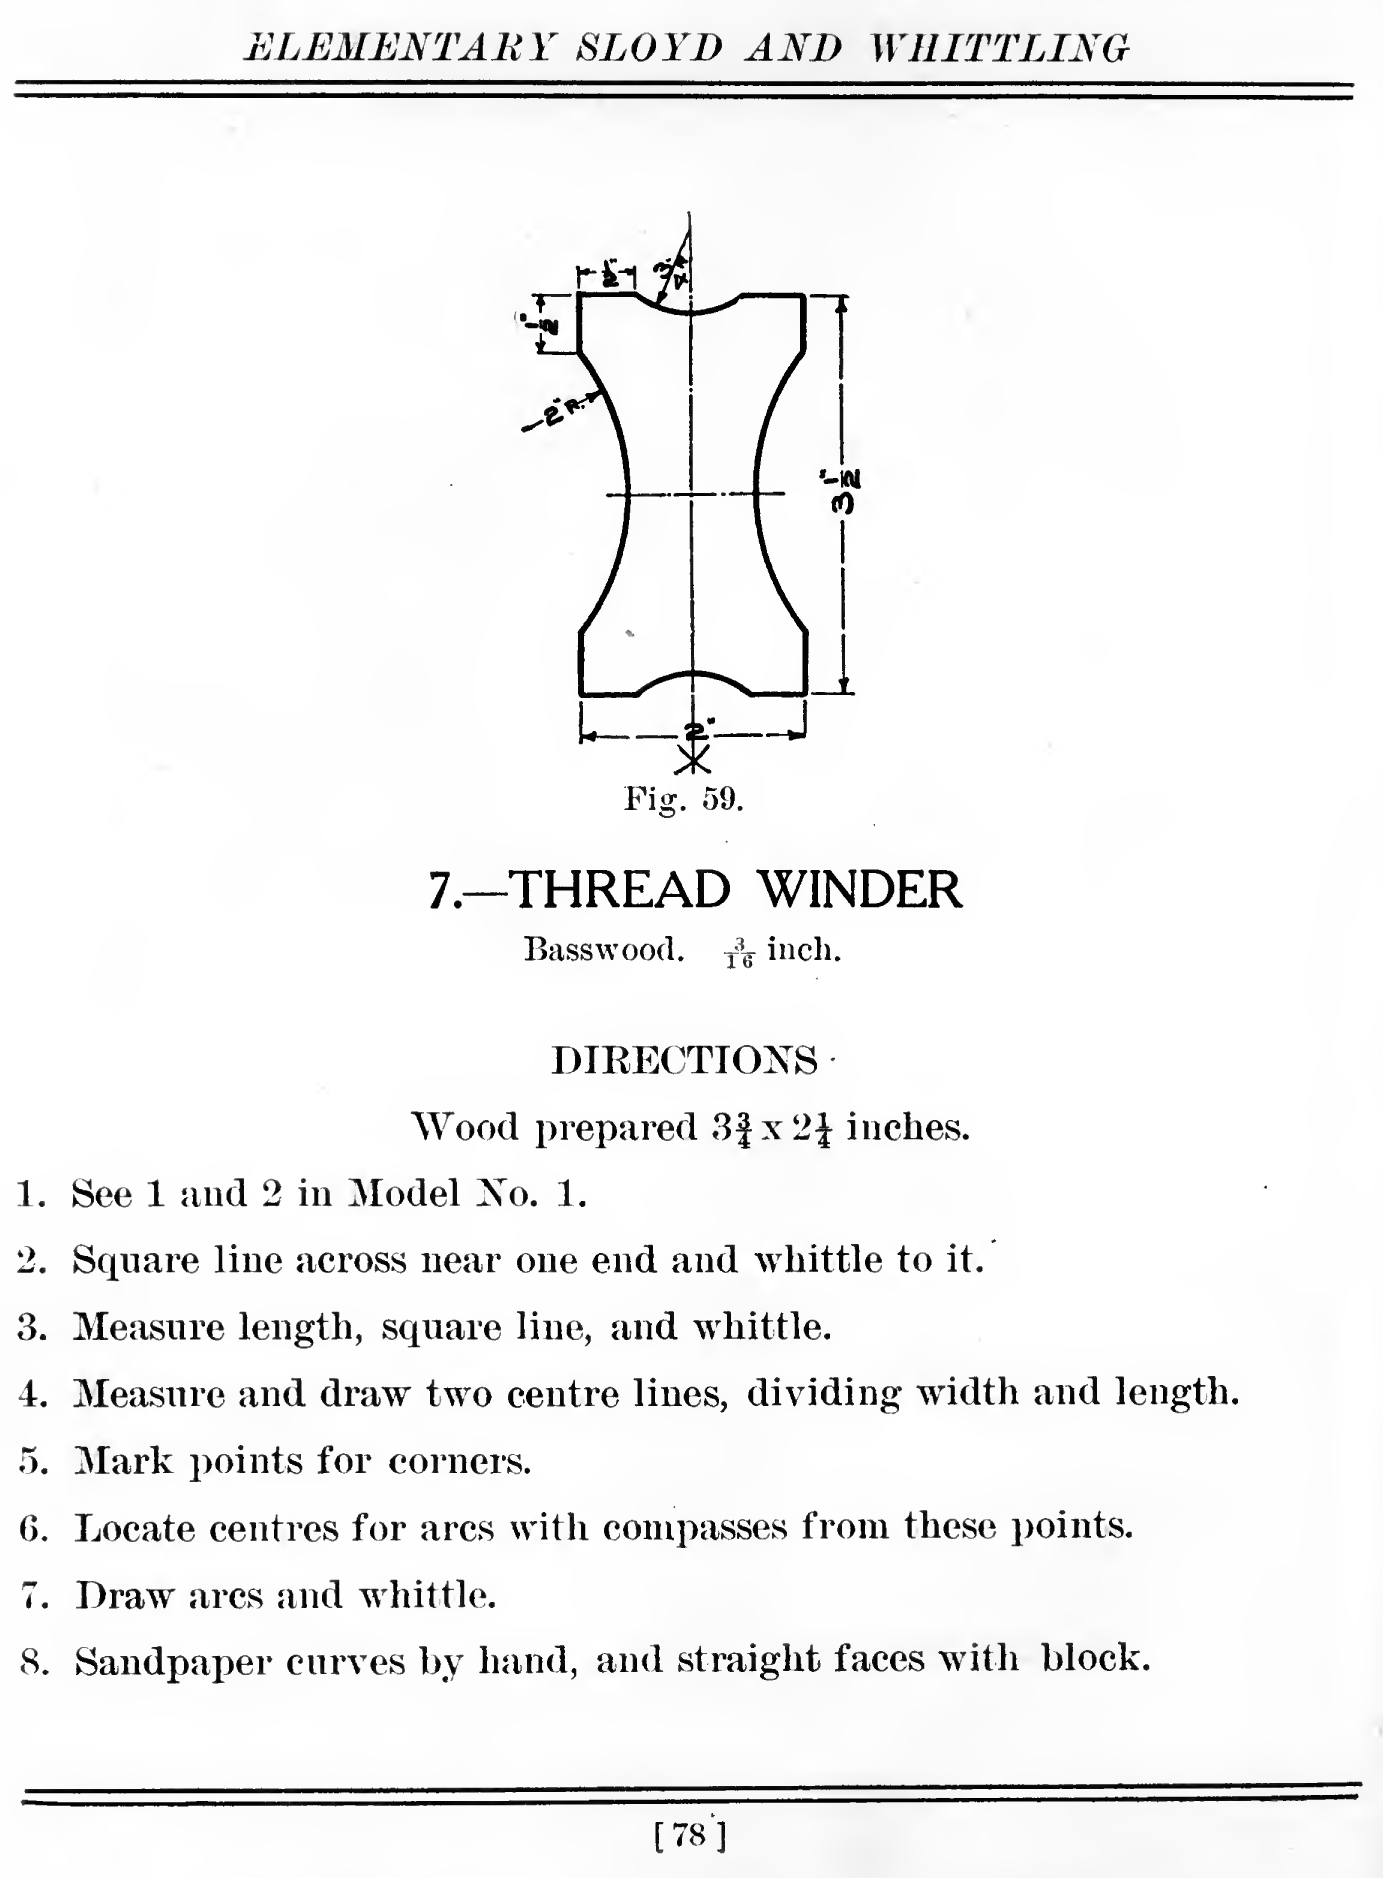
If you decide to make this, you have a few options. Again, Larsson suggests wood that’s 3/16" thick, but 1/16" will be fine for exploration. For the curves, you can look ahead to Compass, Dividers, and Straightedge if you want to get them exactly right, or you can just draw approximate curves on the wood.
The challenging parts are going to be in the curves, where the curve will constantly change the angle at which your knife intersects the grain. You’ll need to be extra-careful to avoid splitting and to get it just right.