Making a Tip Cat and Bat
Note
This book is not anywhere close to complete. For more on its status, please see Status of this Book. Please enjoy this preview as it grows, and if you have feedback, send it to simonstl@simonstl.com.
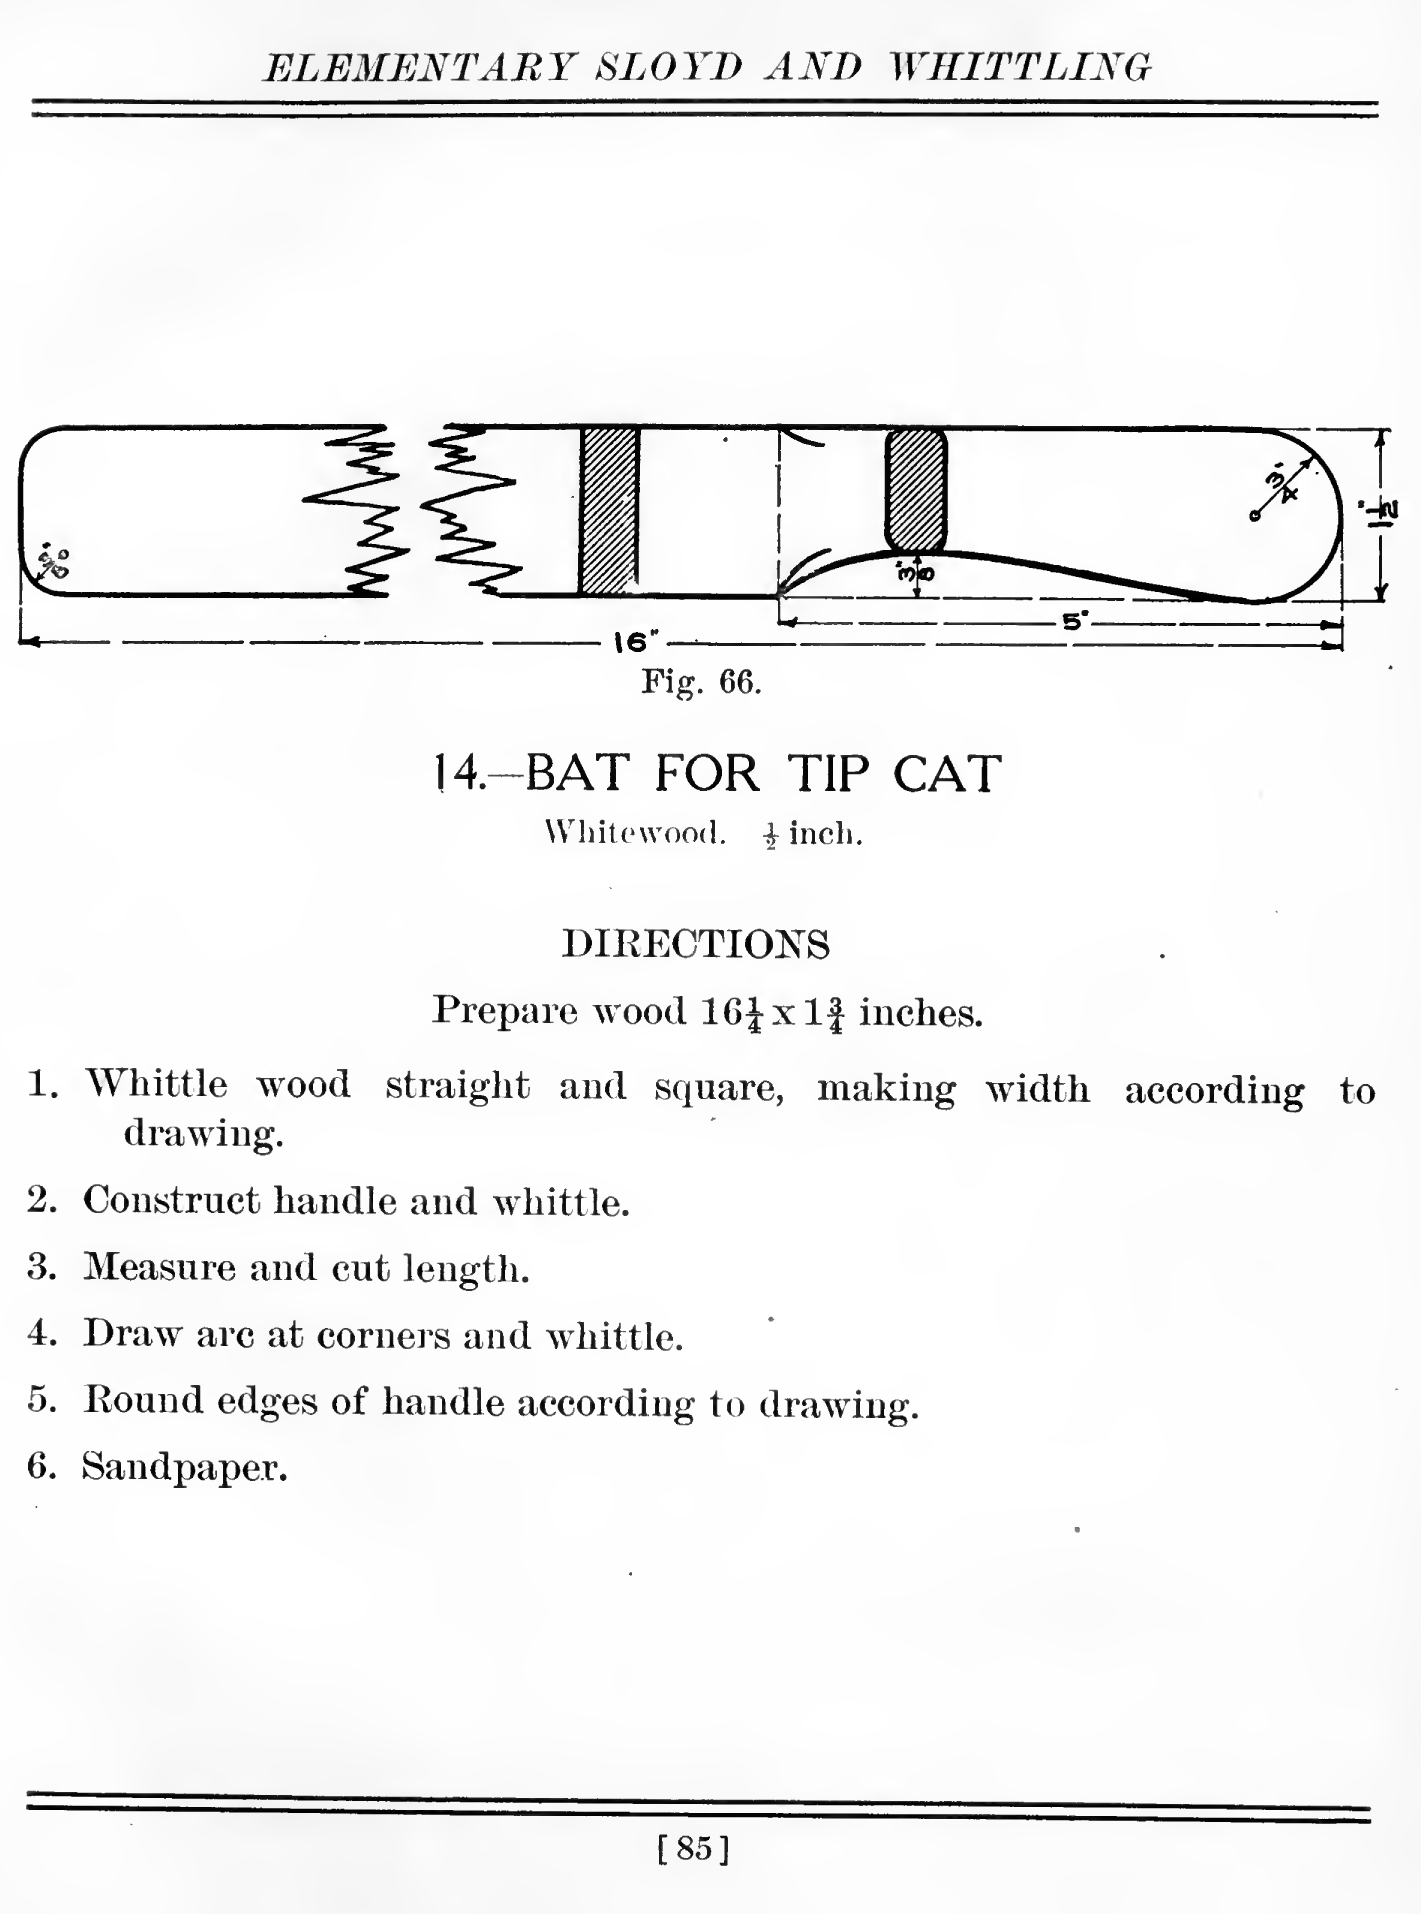
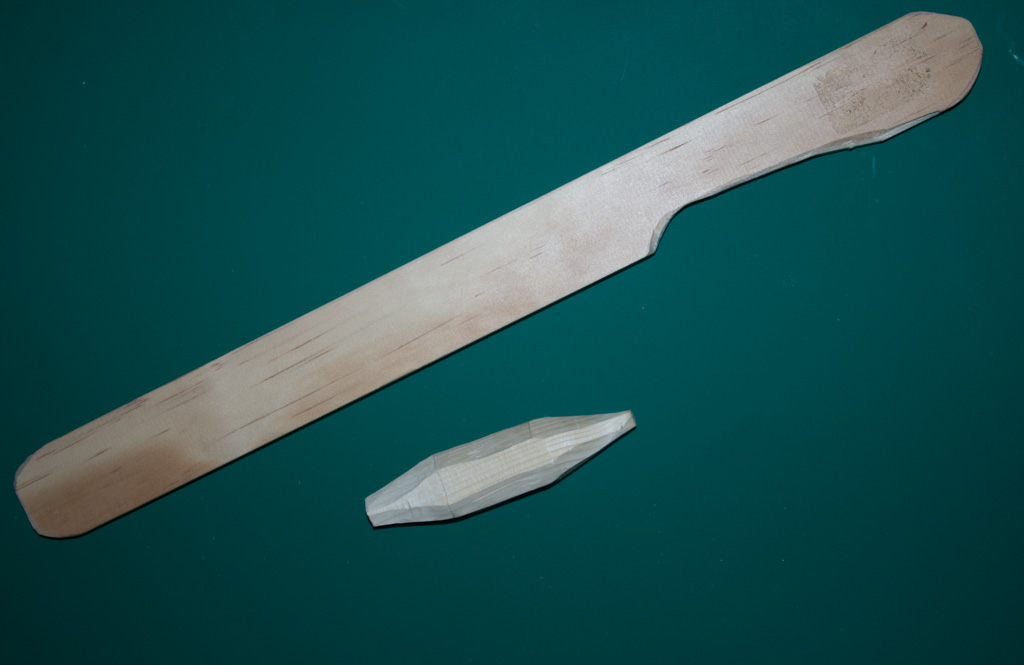
I love the old Sloyd books, but I sometimes puzzle over what the projects are supposed to be for. "Bat for Tip Cat" (Figure 6-2) and "Tip Cat" (Figure 6-1), both in Gustaf Larsson’s Elementary Sloyd and Whittling, didn’t make any sense to me when I first looked at them. They’re both great simple whittling projects, though very different - and when you’re done, you or your kids can play!
Tip-cat is a simple game that requires two pieces of wood: the "cat" itself, and a bat. To play, you hit the tip cat with the bat to make it jump in the air, and then hit it again to send it flying. The rest of the rules seem to be more variable. And don’t worry - that "cat" doesn’t resemble the animal. I’m not sure where the name comes from.
Note
Wikipedia has information on Tip-cat and similar games including Dandi Biyo, Gilli-danda, and Jachigi.
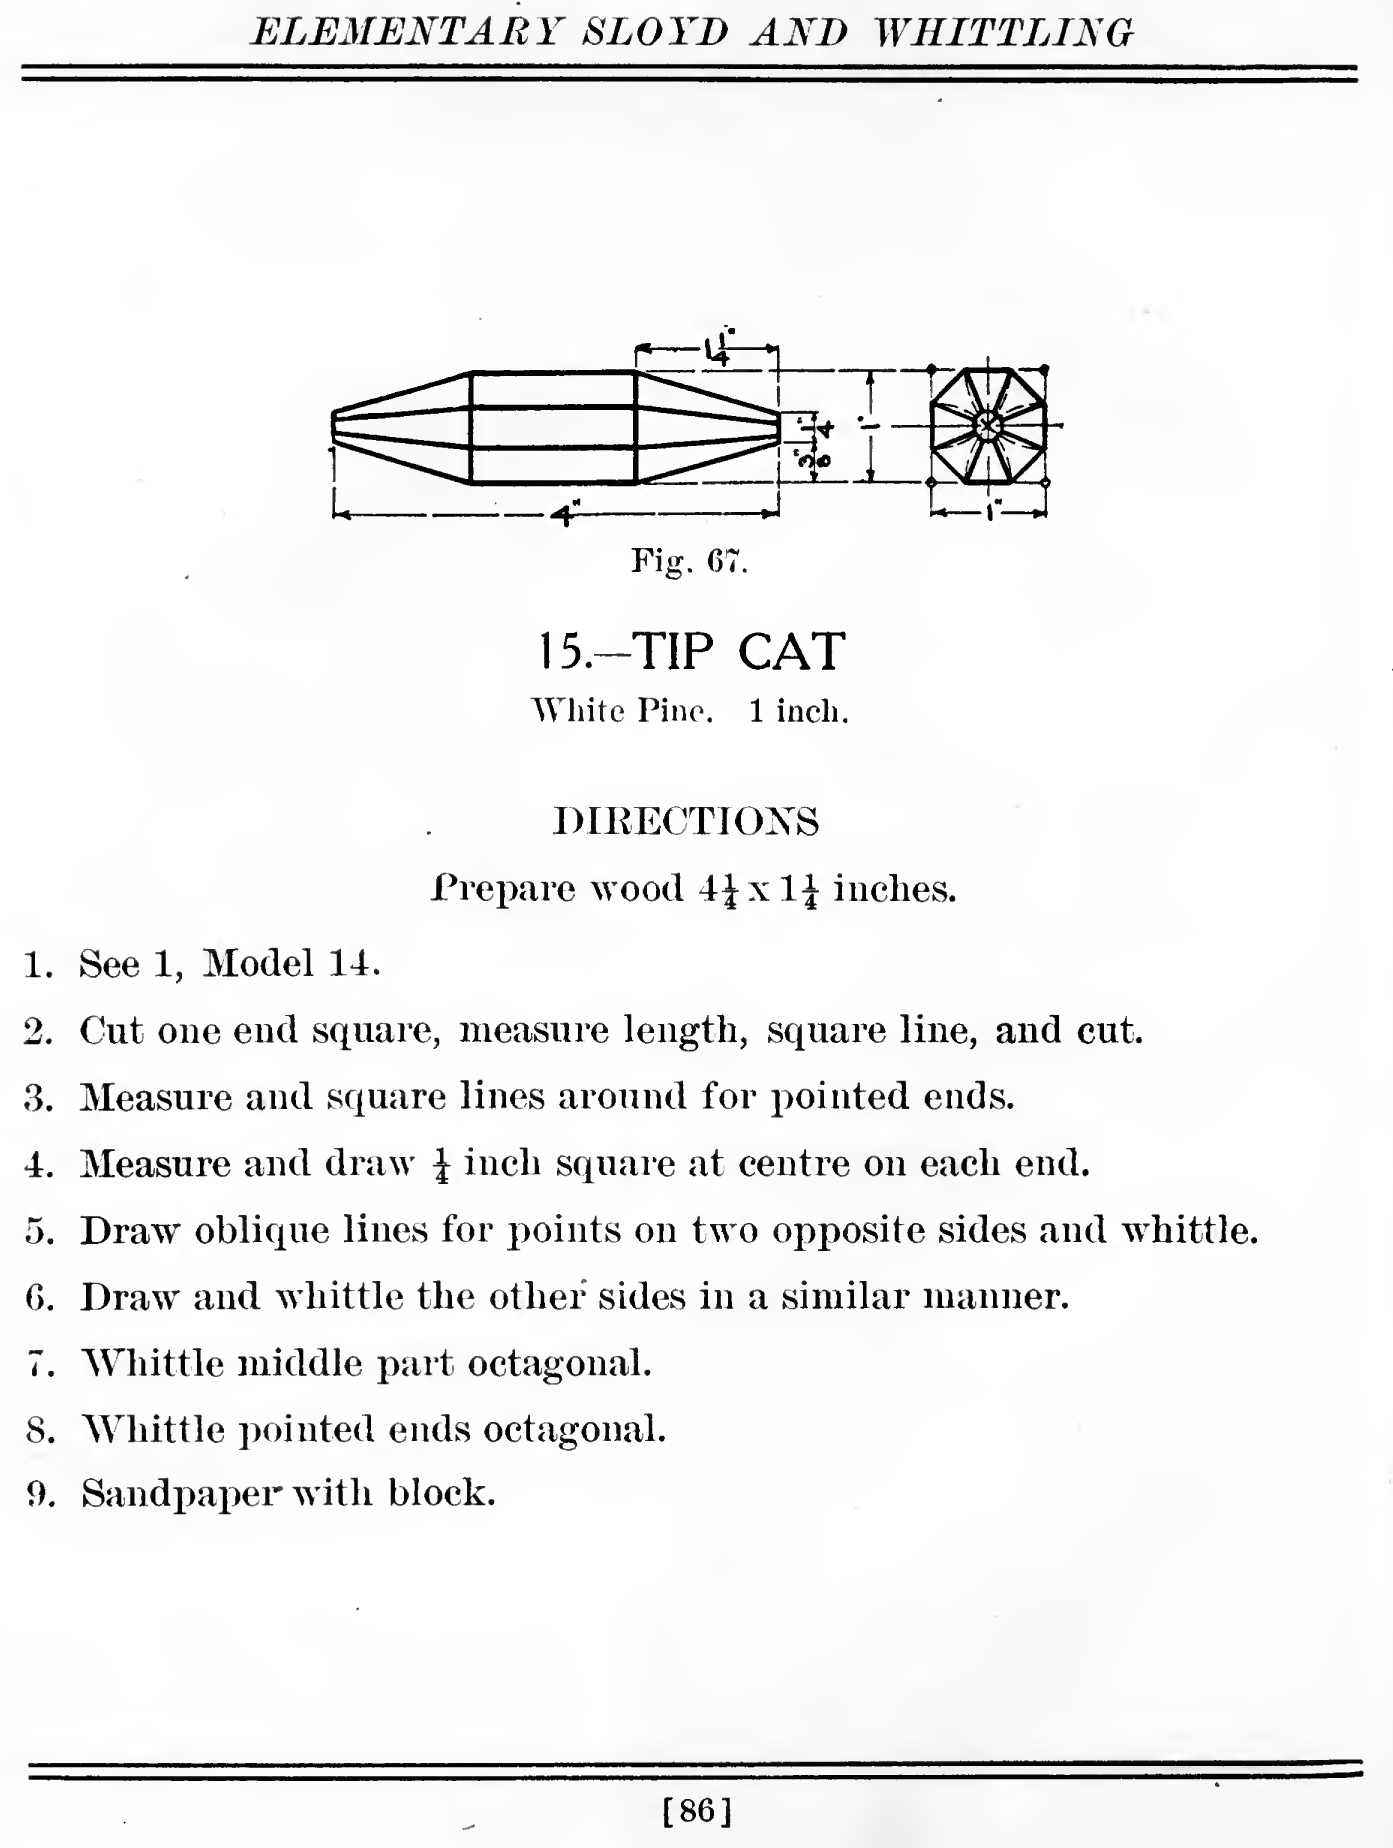
Larsson provides very specific measurements for these, but you don’t need to build them to his specifications. I’ve seen pictures of tip cats that had four sides rather than eight, and bats were often sticks. Larsson also expected teachers to provide blanks cut close to the right dimensions. You probably won’t have that luxury.
Note
I don’t follow Larsson’s directions precisely. His also work, of course, though they assume a few tools - a square and compass - that come later in this book. Also, given the tip cat’s origins as a rough street game, it isn’t a project where precision is critical.
Carving a Tip Cat
It’s easiest to carve a tip cat from a piece that’s roughly a square on its ends and four times that dimension in length. You want the grain of the wood running the length of the piece. I found about the right piece in a "Whittler’s Kit" bag of basswood I bought at a craft store. It wasn’t perfectly square, but since I was carving it anyway, that wasn’t hard to fix.
However, I recommend working from a piece of pine 2x2. That might sound too big, but its real dimensions are 1 3/8" x 1 3/8". Reaching 1" by 1" takes some time (around an hour for me), but will give you an opportunity to see what happens as you slice through wood. Even the worst screw-up won’t cost you much, and it is much easier to see common issues you will encounter in more important places.
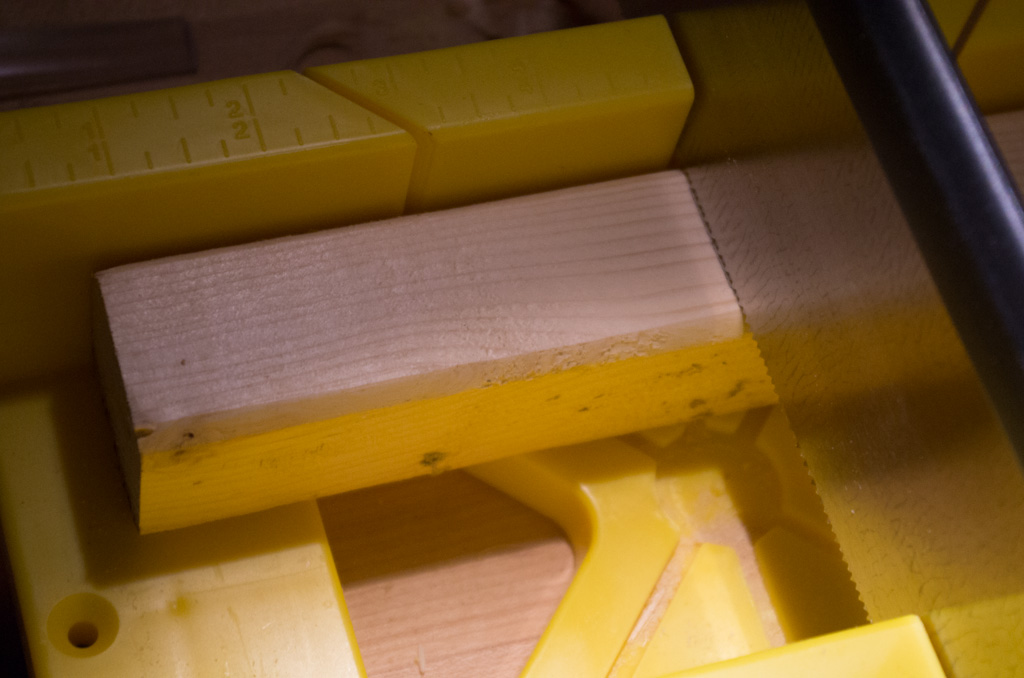
To get started, saw off a 4-inch piece of pine, as shown in Figure 6-3. I used the miter box because I had it handy and it protected my worksurface, but obviously you don’t need to. Try to choose a piece which won’t have knots in the places you’l be cutting. I wasn’t that smart, so you can see how I dealt with a knot below.
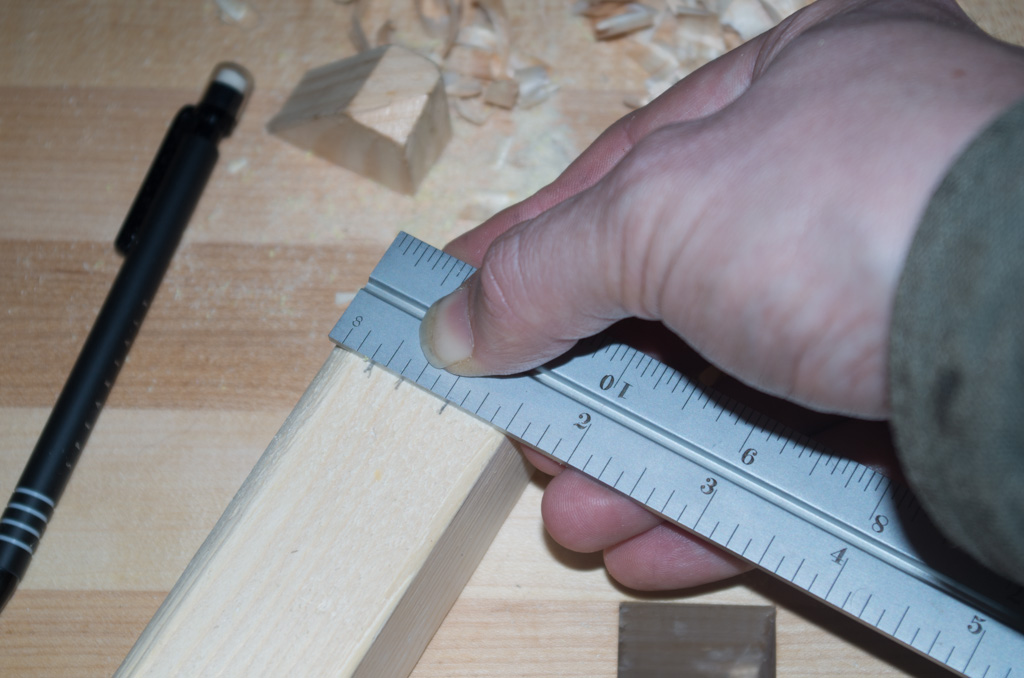
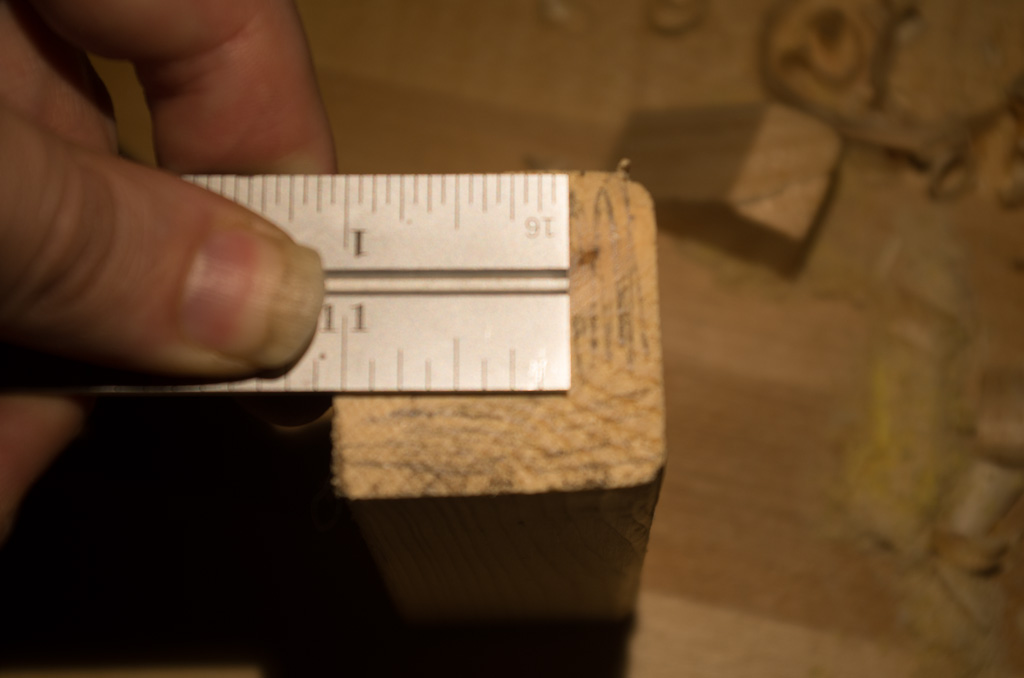
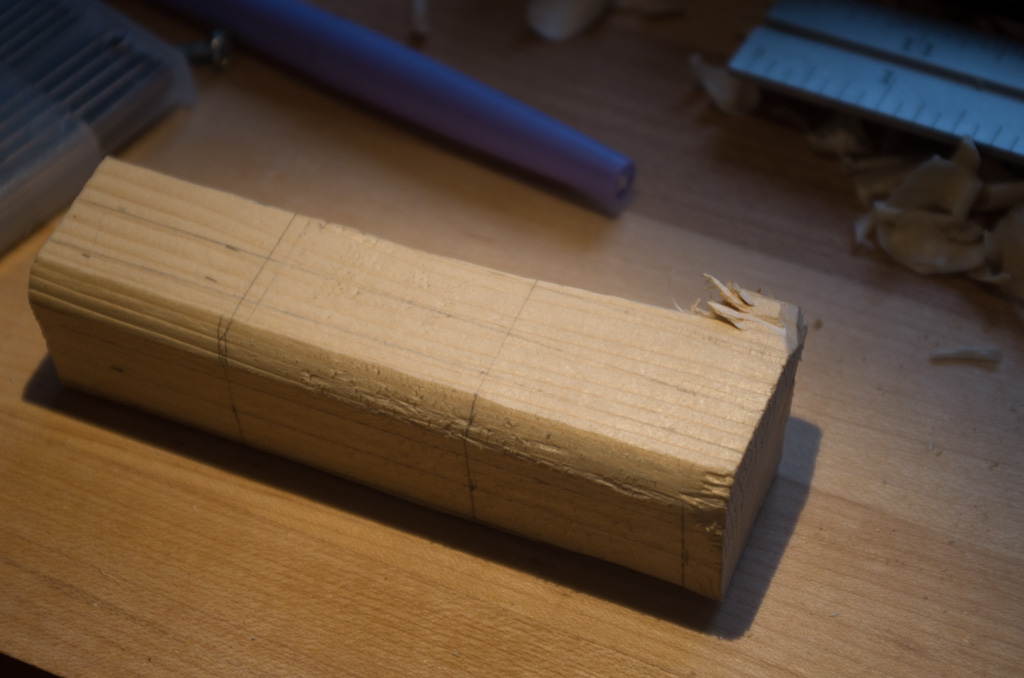
Once you have the piece that will become your tip cat, mark two sides of it with the measurements Larsson suggested. Be sure to mark the two sides from the same corner. The rounded edge may give you a bit of headache. For this project, remember that it doesn’t need to be perfect. You won’t need to fit other pieces based on these measurements. I measured from the edge as shown in Figure 6-4, marked with pencil, and then drew lines across.
Note
One of my favorite features of the ruler that came in my combination square - see ??? - is that it has a face with markings only in eighths. It makes it easy to see proportions and get simple things right. Don’t race out to get on yet, but it’s a nice reminder for me that what seems like less precision can be helpful.
Next, mark the end of the piece so you can tell what you’ll be removing in your quest to make it smaller. Make very sure that you’ve marked your 1" square from the same edge you used for your earlier measurements. Take a close look at how the lines you made on the sides compare to the lines you made on the ends. As shown in Figure 6-5, I darken the area that will go away. Pencil lines in end grain can be hard to see, but a dark area is clear.
Now it’s time to bring out your knife. I mostly used pull cuts to clear the extra material. You want the blade to just dig into the wood, much as if you were peeling it. Explore different angles to see what happens. Try cutting along the grain and across the grain to compare the wood’s response to the knife. If you get stuck, just pull out the knife and try again at a shallower angle.
Note
When roughing, the thumb guard is an especially good idea. It’s easy to push harder and surprise yourself if the wood gives way faster than expected.
If you hear cracking sounds, or if the wood gives way much faster than you expected, you may be splitting the wood, as shown in Figure 6-6. Splitting is much much faster than cutting, but is also less predictable. You may find it useful, though, especially in the early stages of roughing out the piece.
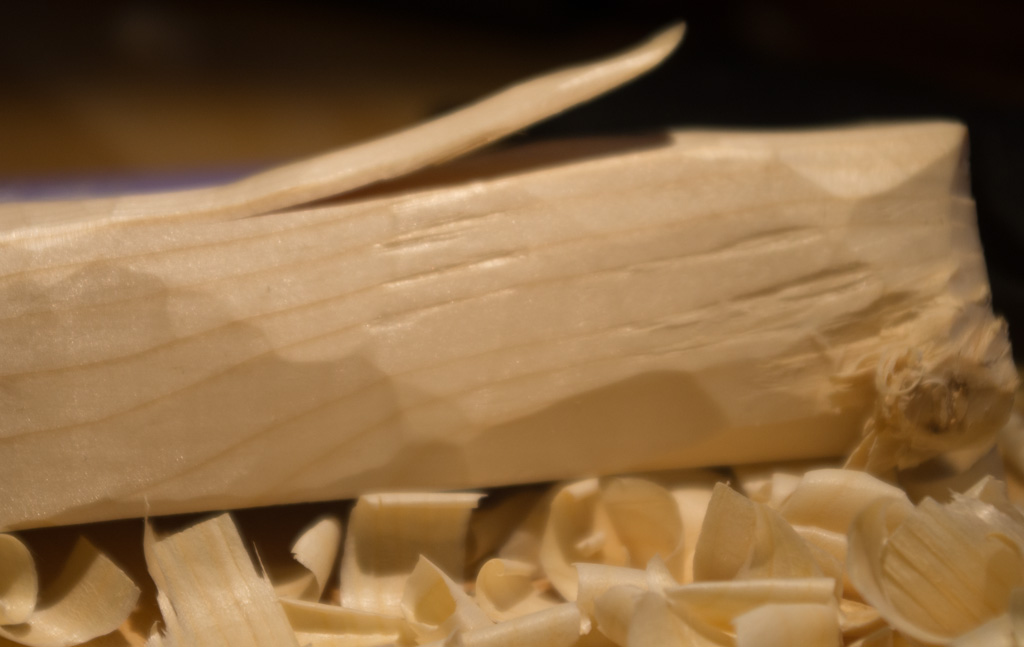
You may also find that the wood gets torn a bit by the knife, as shown in Figure 6-7. Some parts cut smoothly, while other parts want to bring some additional wood with them. In pine, while roughing, it isn’t a problem. When you get tearout in the last stages of a project meant to impress people with its smooth surfaces, though, it can be a diaster.
If you get tearout, explore a bit. Try rotating the piece and cutting from the opposite direction. Adjusting the angle at which the knife approaches the wood can help, as can skewing the cut across the grain.
(Possibly need another figure showing knife - grain interactions.)

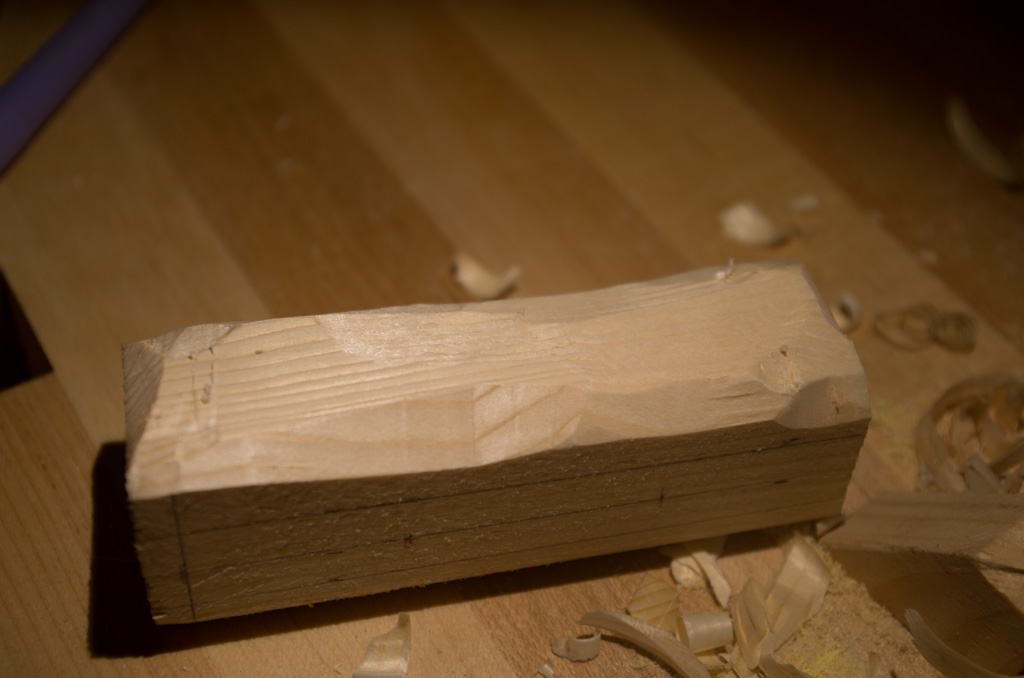
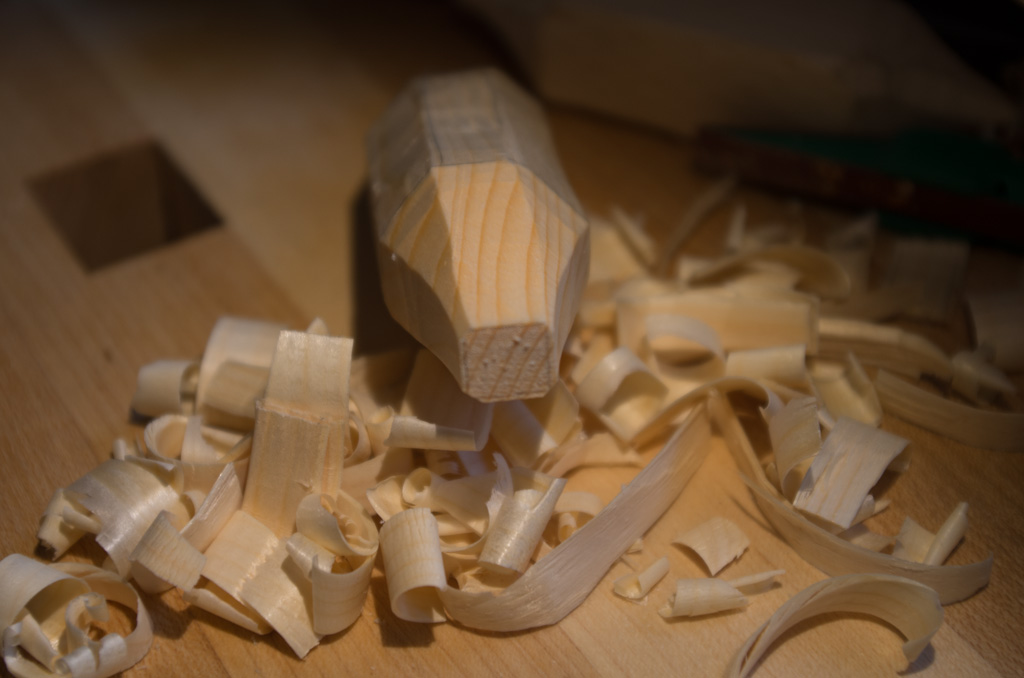
You’ll quickly accumulate shavings you cut, but it will take a while to actually reduce the wood. Figure 6-8 shows a good point for a pause, if you can bring yourself to step. (Once I get going at this, it’s fun to continue.)
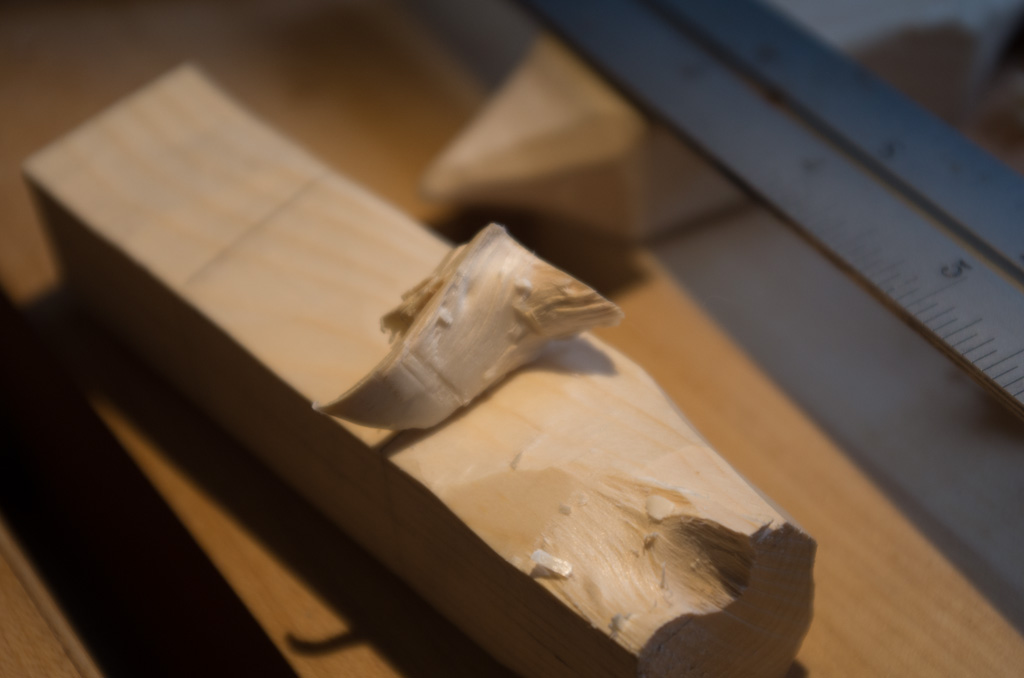
Because I wasn’t careful enough with choosing the piece I used, the knot in Figure 6-9 and Figure 6-10 was in one end of the wood. Knots (places where a branch used to grow) have much harder wood. You can saw through them, but a knife mostly bounces off. Eventually the area around the knot looked like a large wart on one end of the piece.
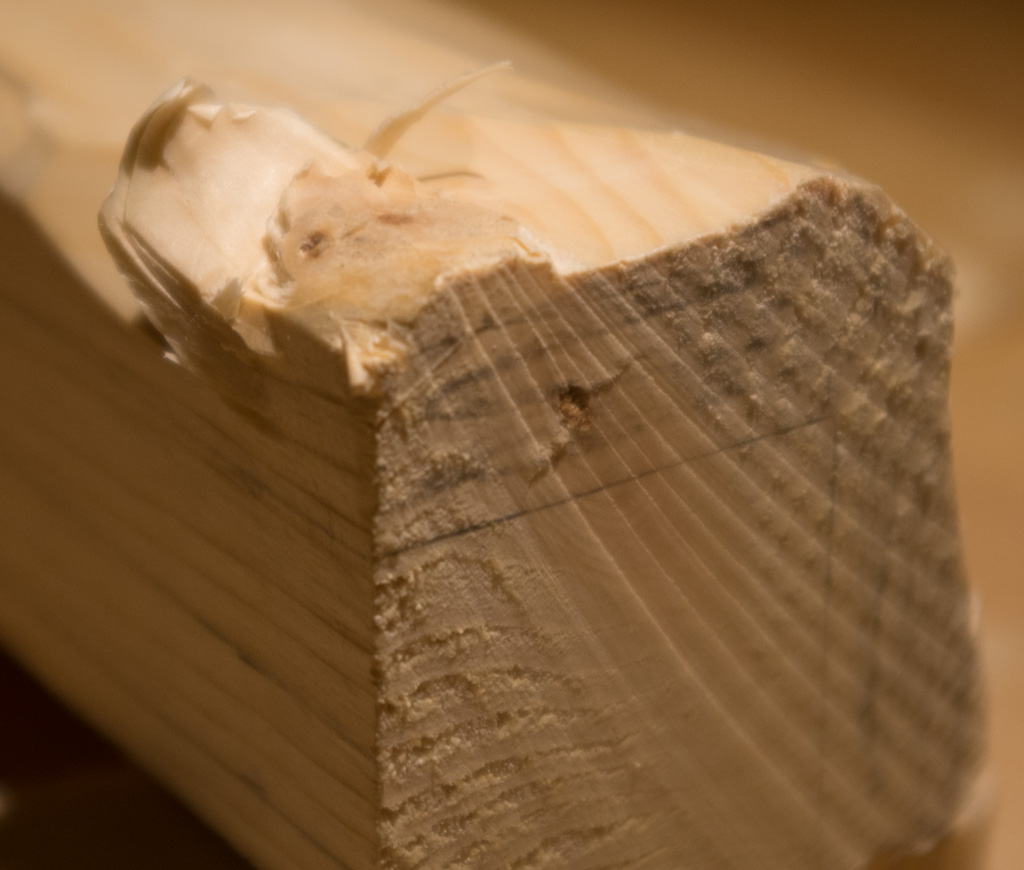
I could have used a saw to cut off the knot, but looking at the growth rings suggested that the knot would eventually come off in the course of carving the piece. It wouldn’t be in the way (very much) in the long run, so I left it. Eventually it did come out, at a time when I wasn’t even worrying about it.
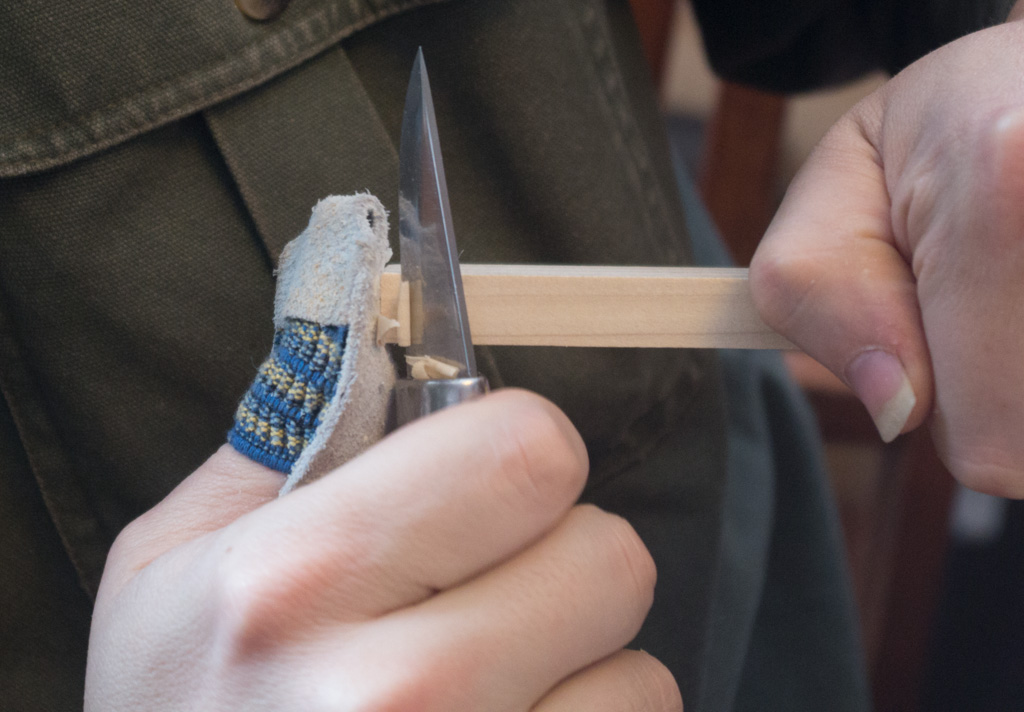
Once you have the right size piece, the rest moves faster. I carry the lines I’d measured earlier around the corner and on to the end grain, as shown in Figure 6-12. Holding a ruler and lining it up by hand should be fine for this. (If you want to get fancy, a ??? or even a saddle square can help with this, but you don’t need it.)
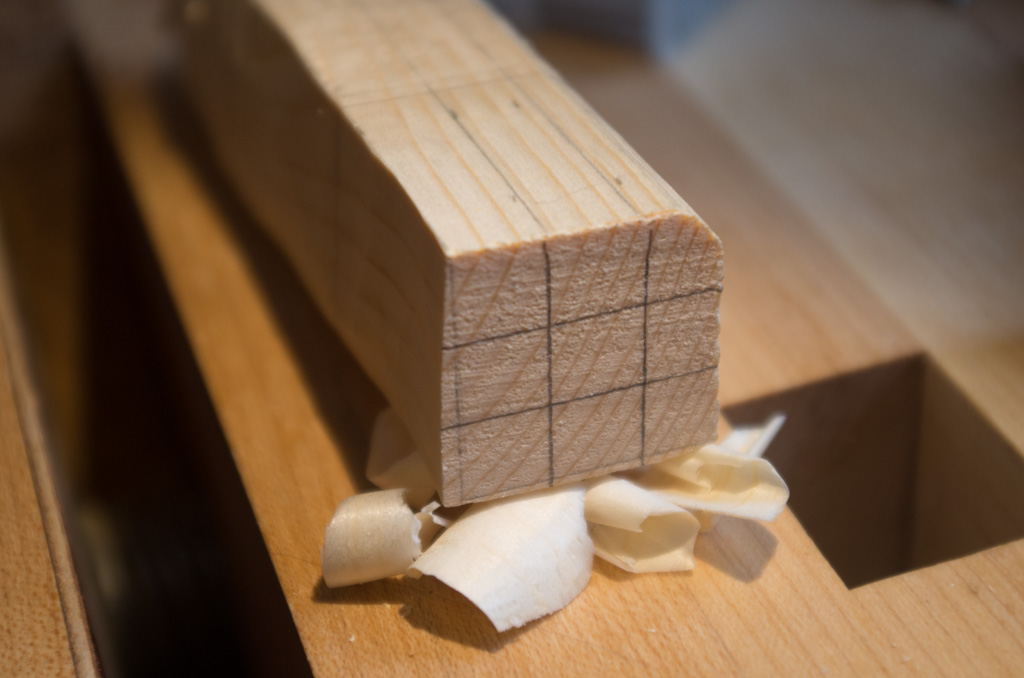
After I carry the lines on to the end grain of both sides, I then connect them on the freshly cut sides. Those sides aren’t likely to be perfectly flat, so it’s probably easier to draw the lines freehand than battle a ruler into place.
Once you have the lines marked, the easy place to start is cutting chamfers on the edges to make it roughly octagonal, as shown in undefined '6-26'. Normally, chamfers soften edges, adding a 45-degree angle to what would otherwise be a 90-degree corner. When you’re making an octagon, it’s a little more extreme, as the chamfers should end up about the same size as the sides.
IMAGE NEEDED .Right-angle edge, Chamfered edge, octagon.
Use paring cuts or push cuts to chamfer the edges. You’ll be cutting along the grain, and close to your final size, so now you need be careful not to split the wood. When you’re done, you should have a piece that looks something like Figure 6-13.
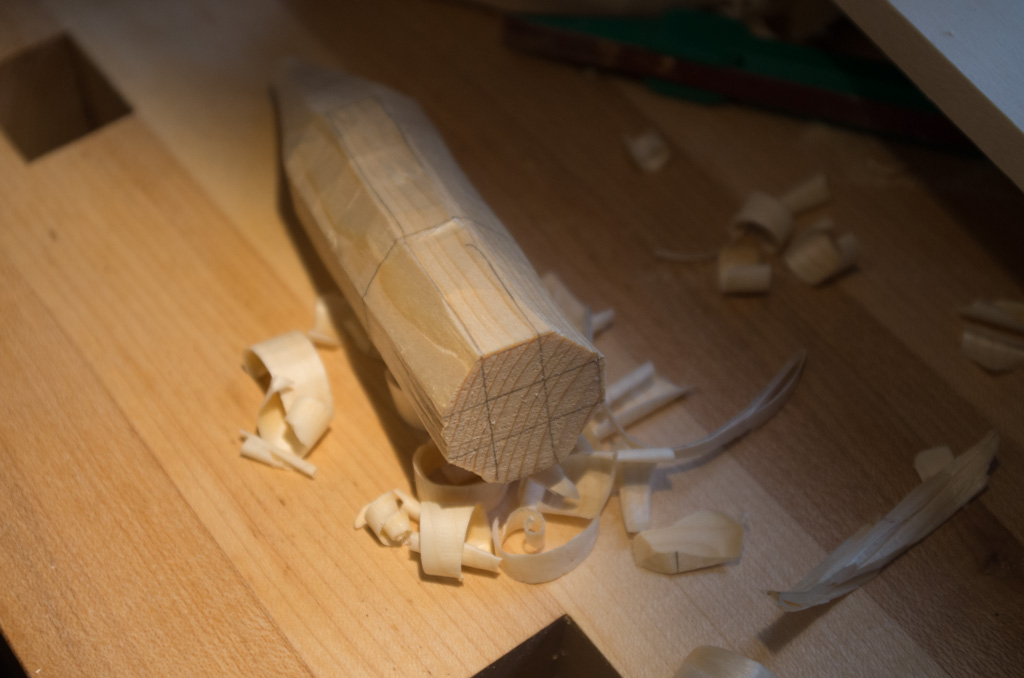
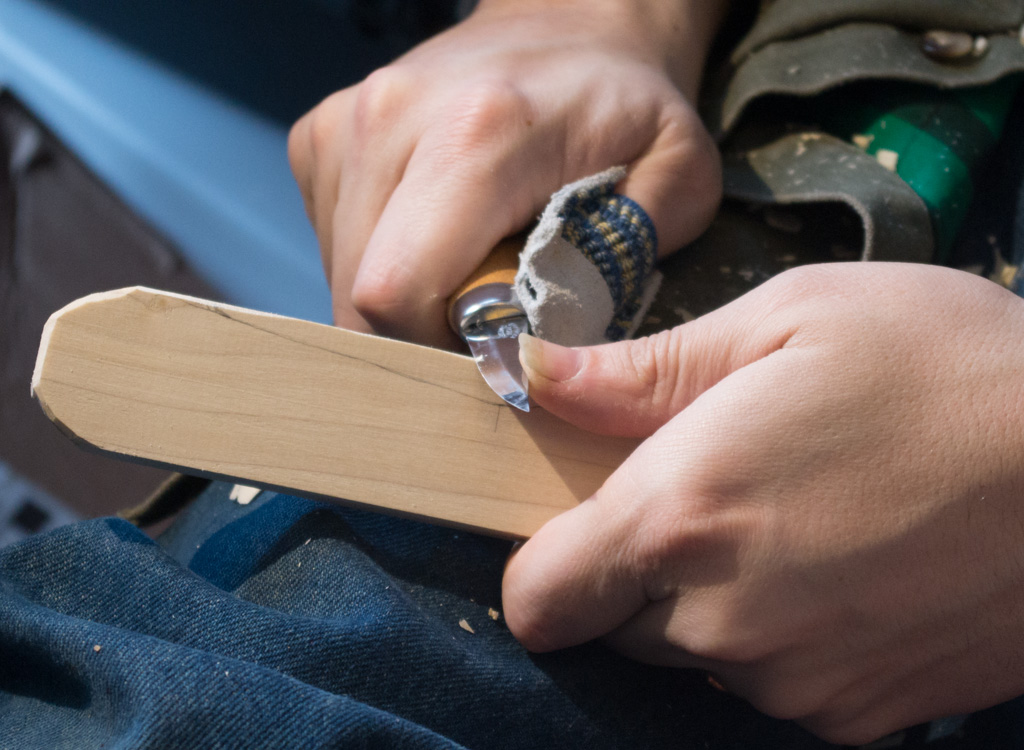
I used pretty much exclusively pull cuts to trim the edges to a blunt point. The lines, except those on the end grain, will disappear quickly, so you have to be careful to keep it even. After doing a few of these, I found that it worked best to work on every other edge for a while, then switch to the other set. If I just went around in the circle, I wound up with something of a spiral and had to correct it.
All that’s left to do is repeating the tapering on the other end. Even this is optional - if you’d rather make a "piggy" than a tip cat, only one end needs to taper. The bat needs to hit one tapered end, but having two mostly adds symmetry and a second option for the batter.
If you want to, you can see how perfectly smooth you can get the tip cat with the knife. However, it’s not really a feature for a tip cat you plan to use. After all, it’s going to get hit with a probably harder wooden bat, and develop all kinds of dents in its travels. Not only that, it’s easy to lose them while hitting them around. You may want to make a few.
Carving the Bat
The bat is mostly easier to carve than the tip cat. Larsson calls for 1/2" thick "whitewood" - poplar. Home centers carry poplar in many small sizes for trim, and I found 1/2" x 1 1/2" x 24" poplar easily. Trim the board to be 16" long (or 18" if you want a longer bat), and you’re much of the way there.
Note
You can use pine to make the bat, but it will get dented very quickly.
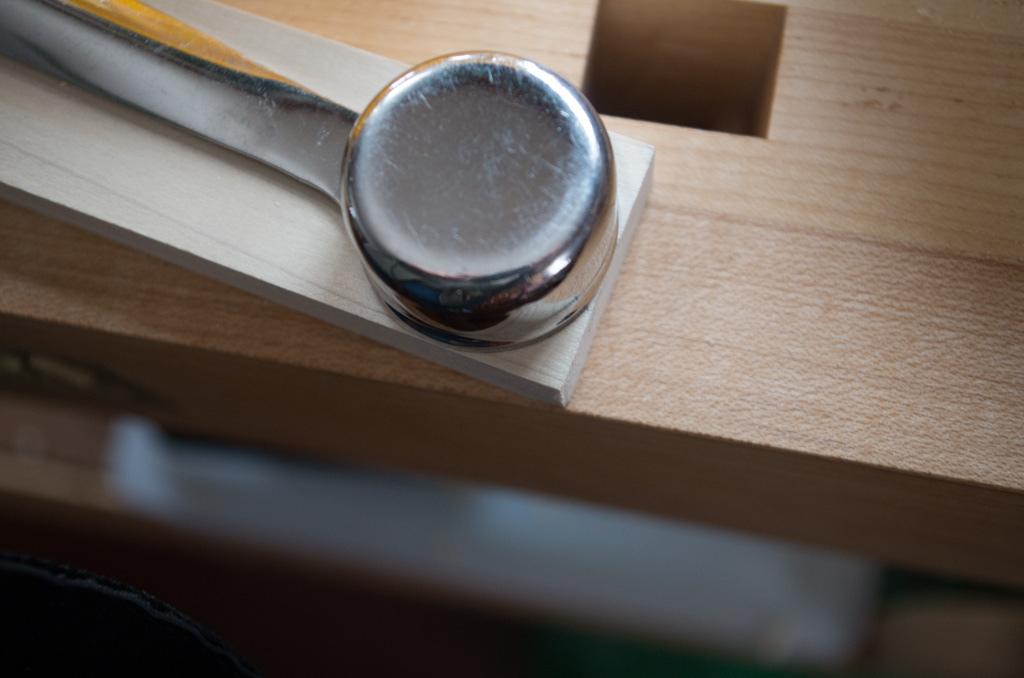
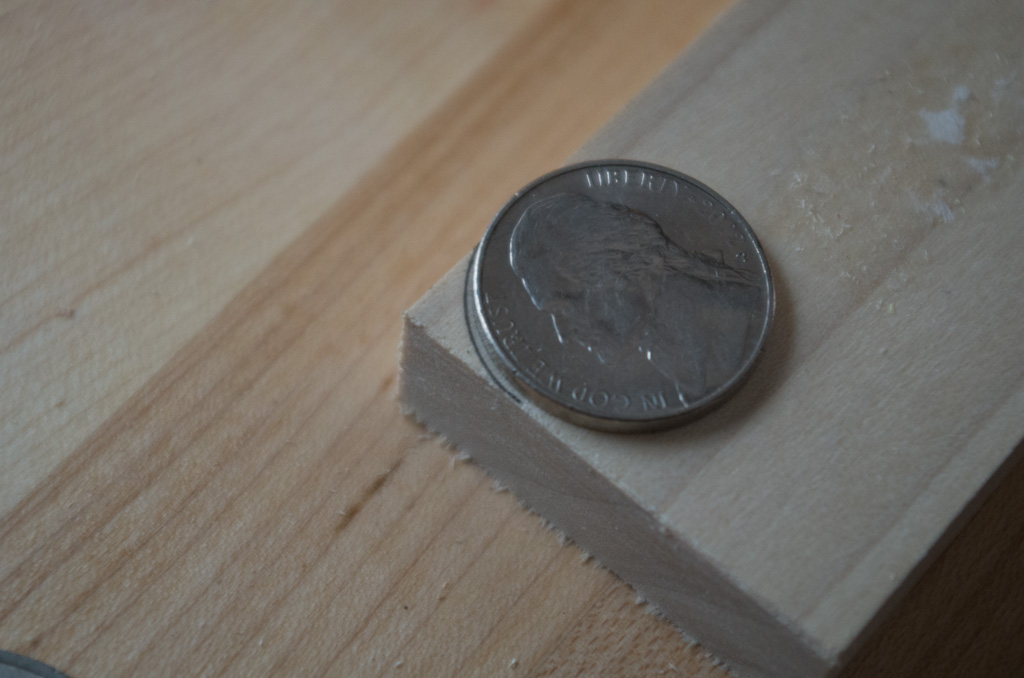
I used some ordinary household objects to establish the curves on the corners - a tablespoon, as shown in Figure 6-16 for the very rounded end, and a nickel, shown in Figure 6-17, for the hitting end.
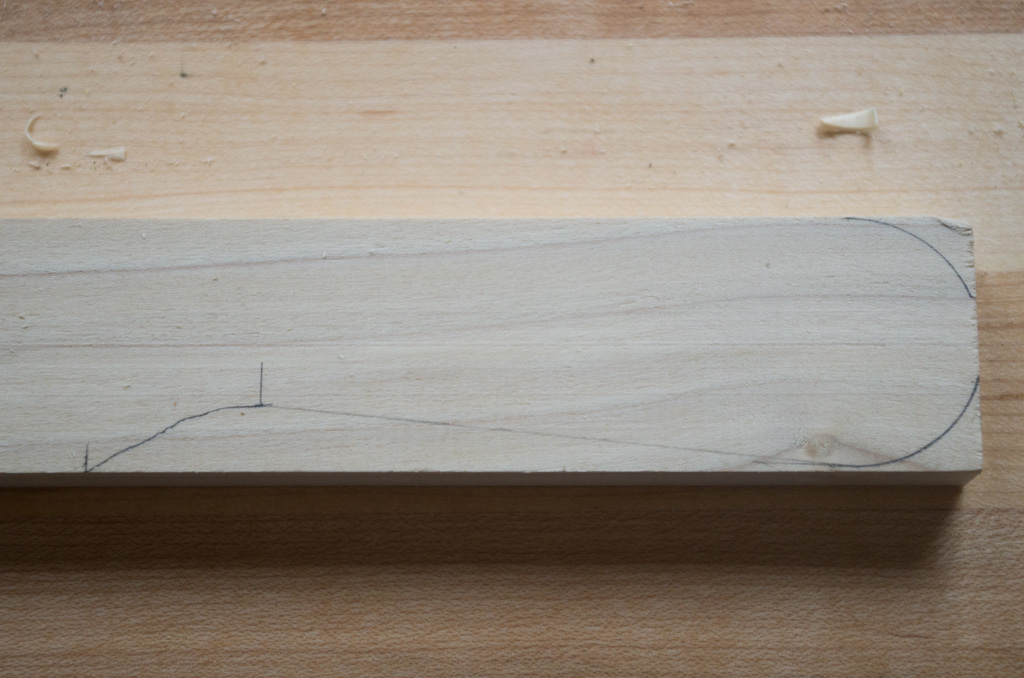
The handle is a trickier combination of shapes - an arc, a straight line, and another arc - so I drew it in freehand. You can see the result in Figure 6-18. The most important thing is that the handle be comfortable, and that it keeps the bat from flying out of the hand. Splinters aren’t fun either.
I drew the corner marks on both sides, because it was easy, but only drew the handle shape on one side. It wouldn’t come out the same anyway, and keeping it even while carving isn’t that difficult.
Carving the corners is pretty easy. Careful pull cuts, like Figure 6-19, will let you creep up on the lines you drew. Go slowly, slicing off thin bits until you’re used to how the wood responds. Poplar feels very different than pine, cutting more slowly but more crisply. It splits less easily, but it can still split.
The handle is much more difficult. There’s more to remove, and it’s between two ends that you aren’t cutting off. I started with some push cuts going into the middle of the handle area, as shown in Figure 6-20. That created a small depression, which I then kept deepening with push cuts until I reached the lines.
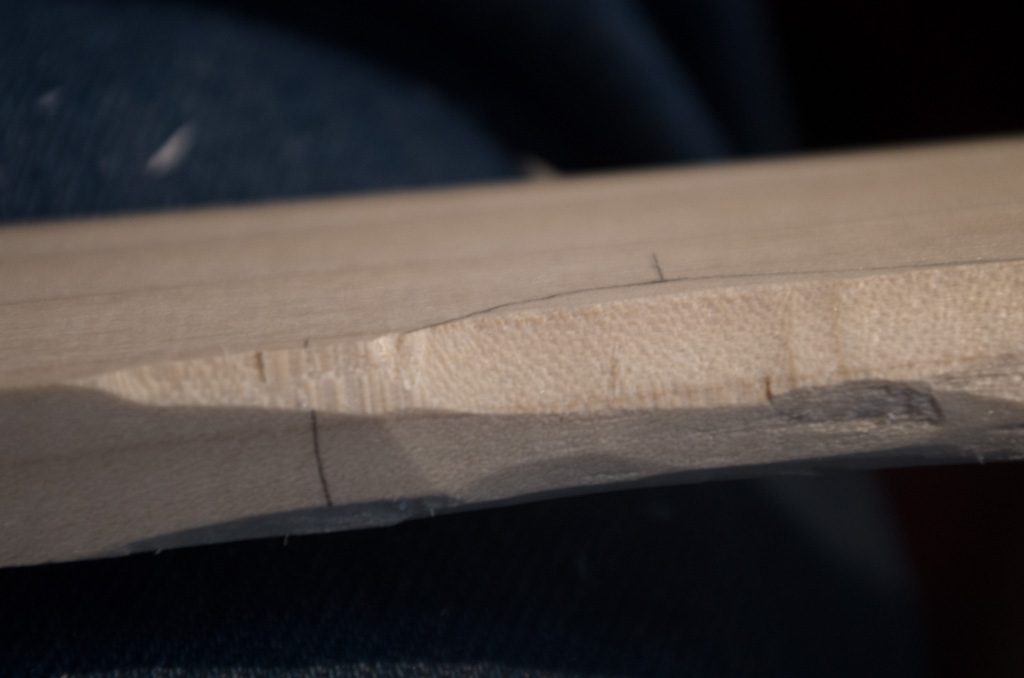
I should have paid more attention to my lines, as you’ll see in Figure 6-21, but again, this is not a project demanding precision. Later, in joinery, you’ll need to get things perfect. Here, you can just learn from the shock of overshooting your line and correcting.
Poplar can still tear out. Splits are less dramatic, but tear out leaves a rough surface, as seen in Figure 6-22. As long as you don’t get tear out in your final handle surface, it isn’t a problem. If you do get it at the end, trim a little further or sand it away.

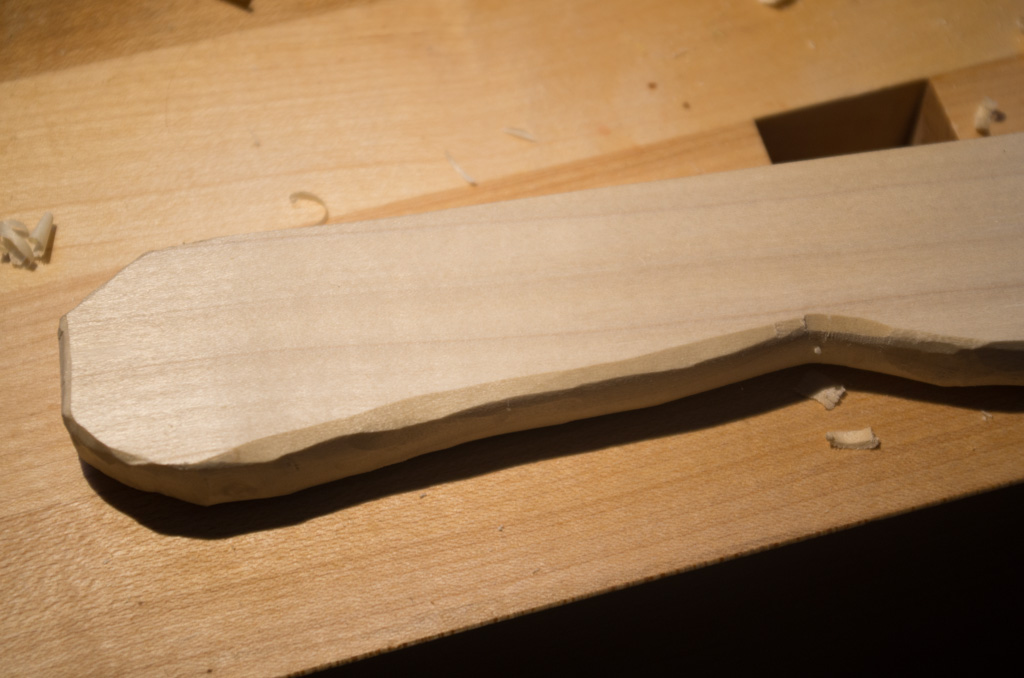
Once I reached the lines, I worked on making the handle edge flat across, and then rounded.
You can spend as much or as little time on sanding the bat as you want. You certainly don’t want splinters from the handle, but the end hitting the tip cat is going to get dented over time anyway. The bat should last a while, though, probably longer than the easily lost tip cats!
Warning
Don’t try to take a bat, even a partially completed one, as carry-on luggage in the United States. I did, and the TSA took it from me. Bats of any kind - even short boards - are prohibited.
Adventures
So many toys…